
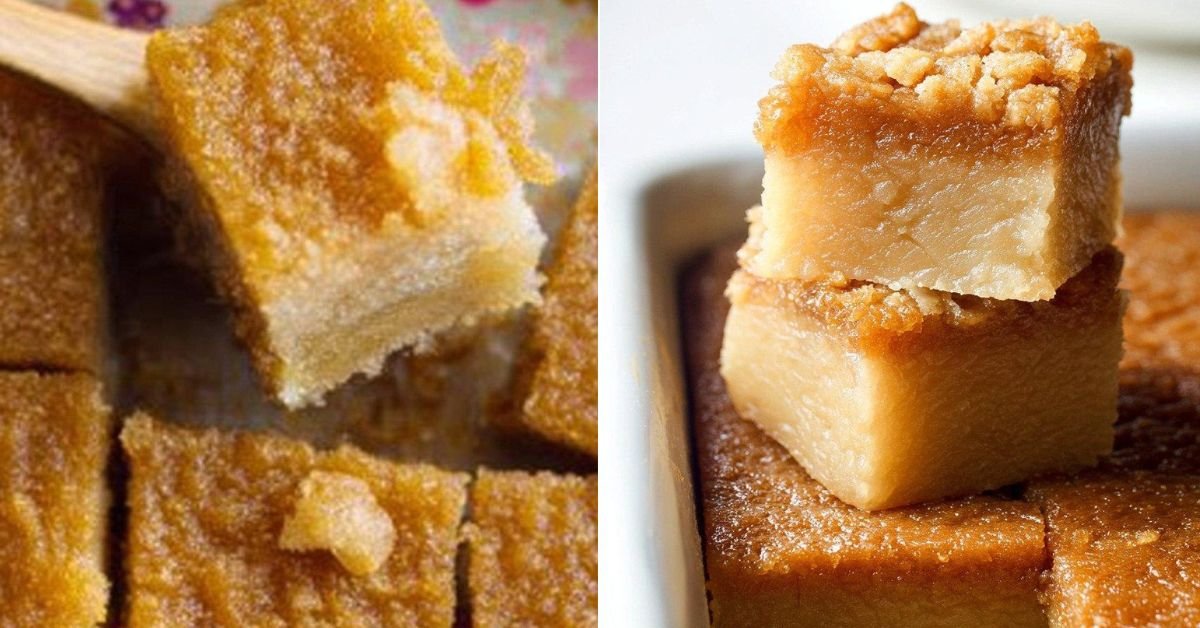
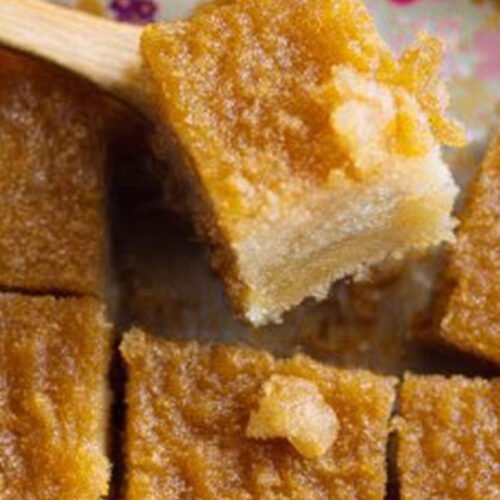
If you are craving a chewy, rich, and unforgettable island-inspired treat, this butter mochi recipe is the perfect dessert to bake. It has that signature soft center, lightly crisp edges, and buttery coconut flavor that makes every bite so satisfying. Whether you already love a classic mochi recipe or you are trying a mochi recipe easy enough for beginners, this version delivers a simple, crowd-pleasing result. One of the best things about this dessert is how versatile it feels while still staying true to its comforting roots. Fans of an ube butter mochi recipe will appreciate how well this style pairs with bold flavors, while anyone who enjoys a homemade mochi recipe will love making this from scratch with pantry staples. Even if you usually search for a chocolate mochi recipe when dessert cravings hit, this buttery baked version offers a delicious change of pace. This sweet and chewy bake is also a fun alternative to more delicate treats like strawberry mochi recipe ideas, since it is easier to prepare and perfect for sharing. The texture is wonderfully unique, and the flavor is warm, buttery, and lightly sweet. Once you try this butter mochi recipe, you may find it becoming your go-to choice whenever you want a dependable mochi recipe that feels special without being complicated.
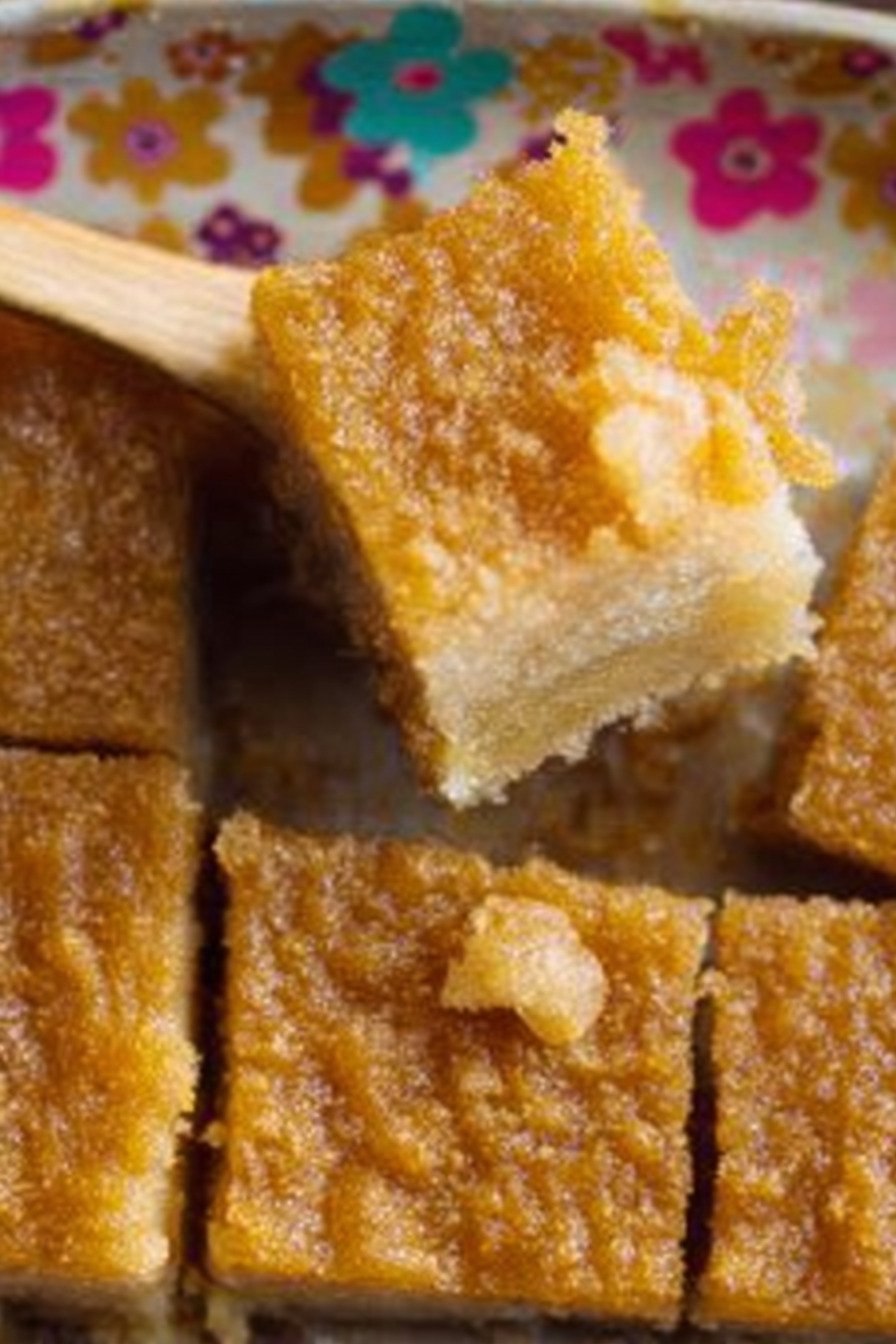
Table of Contents
- Key Takeaways
- Easy Hawaii Butter Mochi Recipe (Local Style)
- Ingredients for Hawaii Butter Mochi Recipe (Local Style)
- How to Make Hawaii Butter Mochi Recipe (Local Style)
- Tips for Making Hawaii Butter Mochi Recipe (Local Style)
- Making Hawaii Butter Mochi Recipe (Local Style) Ahead of Time
- Storing Leftover Hawaii Butter Mochi Recipe (Local Style)
- Try these main course recipes next!
- Hawaii Butter Mochi Recipe (Local Style)
- Nutrition
1) Key Takeaways
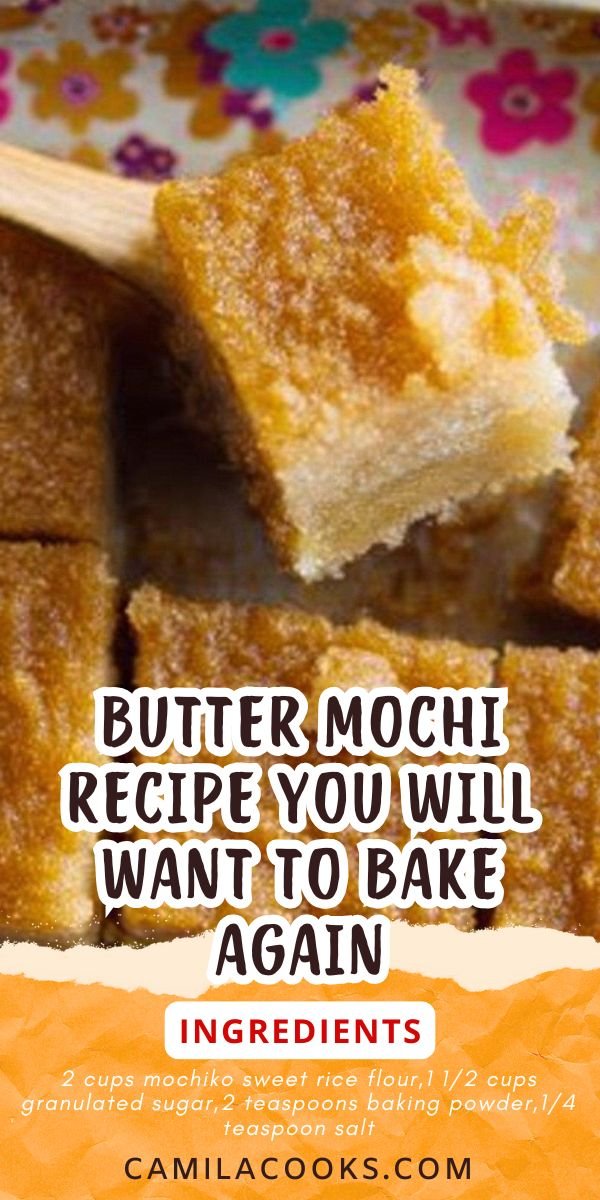
- This butter mochi recipe is wonderfully chewy, rich, and buttery with the perfect balance of crisp golden edges and a soft center.
- It is an easy dessert to prepare with simple pantry ingredients, making it ideal for anyone looking for a mochi recipe easy enough for beginners.
- The recipe is flexible and can inspire fun variations like an ube butter mochi recipe or even flavors inspired by a chocolate mochi recipe.
- It stores well, slices beautifully, and is a great homemade mochi recipe to share for parties, holidays, or everyday baking.

2) Easy Hawaii Butter Mochi Recipe (Local Style) Recipe
There is something incredibly comforting about a freshly baked butter mochi recipe, especially when it comes out of the oven with a lightly golden top and that signature chewy texture inside. This local-style dessert is simple, nostalgic, and full of rich buttery coconut flavor that makes every bite feel special. If you already love a classic mochi recipe, this baked version is a wonderful one to keep in your dessert rotation.
Because this recipe fits beautifully into an All Recipes collection, it is the kind of treat you can make for almost any occasion. It is easy enough for casual family baking, but unique enough to serve when you want something memorable and crowd-pleasing. For anyone searching for a mochi recipe easy enough to make without complicated shaping or filling, this one delivers all the fun of mochi in a fuss-free, oven-baked form.
Another reason this dessert is so loved is its versatility. The base recipe is delicious as written, yet it can also inspire twists like an ube butter mochi recipe, a chocolate mochi recipe, or even flavors that remind you of a strawberry mochi recipe. At its heart, though, this is a homemade mochi recipe that celebrates the irresistible texture and flavor that make butter mochi such a beloved favorite.
3) Ingredients for Hawaii Butter Mochi Recipe (Local Style)
Mochiko Sweet Rice Flour This is the essential ingredient that gives the dessert its signature chewy texture. It creates the unique bite that makes every mochi recipe so satisfying and distinct from traditional cake.
Granulated Sugar Sugar sweetens the batter and balances the richness of the butter and milk. It also helps create that lightly caramelized top as the butter mochi bakes.
Baking Powder A small amount of baking powder helps lighten the dense batter just enough, giving the finished dessert a pleasant lift while still keeping the classic chewy texture intact.
Salt Salt sharpens the sweetness and brings out the buttery, creamy notes in the recipe. Even a little bit makes the flavor feel fuller and more balanced.
Eggs Eggs help bind the batter and add structure, richness, and a tender finish. They also contribute to the beautiful golden color on top.
Coconut Milk Coconut milk adds richness and a subtle tropical flavor that pairs perfectly with the chewy rice flour base. It is one of the ingredients that gives this dessert its warm island-inspired character.
Evaporated Milk Evaporated milk brings creamy body to the batter and helps create a silky, smooth texture. It works with the coconut milk to keep the dessert moist and flavorful.
Unsalted Butter Melted butter gives this butter mochi recipe its deep, rich flavor and soft, luscious crumb. It is the ingredient that truly makes the dessert feel indulgent and comforting.
Vanilla Extract Vanilla rounds out the sweetness and adds warmth to the overall flavor. It complements both the buttery notes and the coconut aroma beautifully.
4) How to Make Hawaii Butter Mochi Recipe (Local Style)
Step 1 Preheat your oven to 350°F and grease a baking dish well with butter or nonstick spray. This helps the mochi release easily after baking and keeps the edges nicely golden.
Step 2 In a large bowl, whisk together the mochiko sweet rice flour, sugar, baking powder, and salt until everything is evenly combined. Mixing the dry ingredients first helps create a smooth batter later.
Step 3 In a separate bowl, whisk the eggs, then add the coconut milk, evaporated milk, melted butter, and vanilla extract. Stir until the mixture is smooth and fully blended.
Step 4 Pour the wet ingredients into the dry ingredients and whisk until no lumps remain. The batter should look smooth and pourable with a rich, creamy consistency.
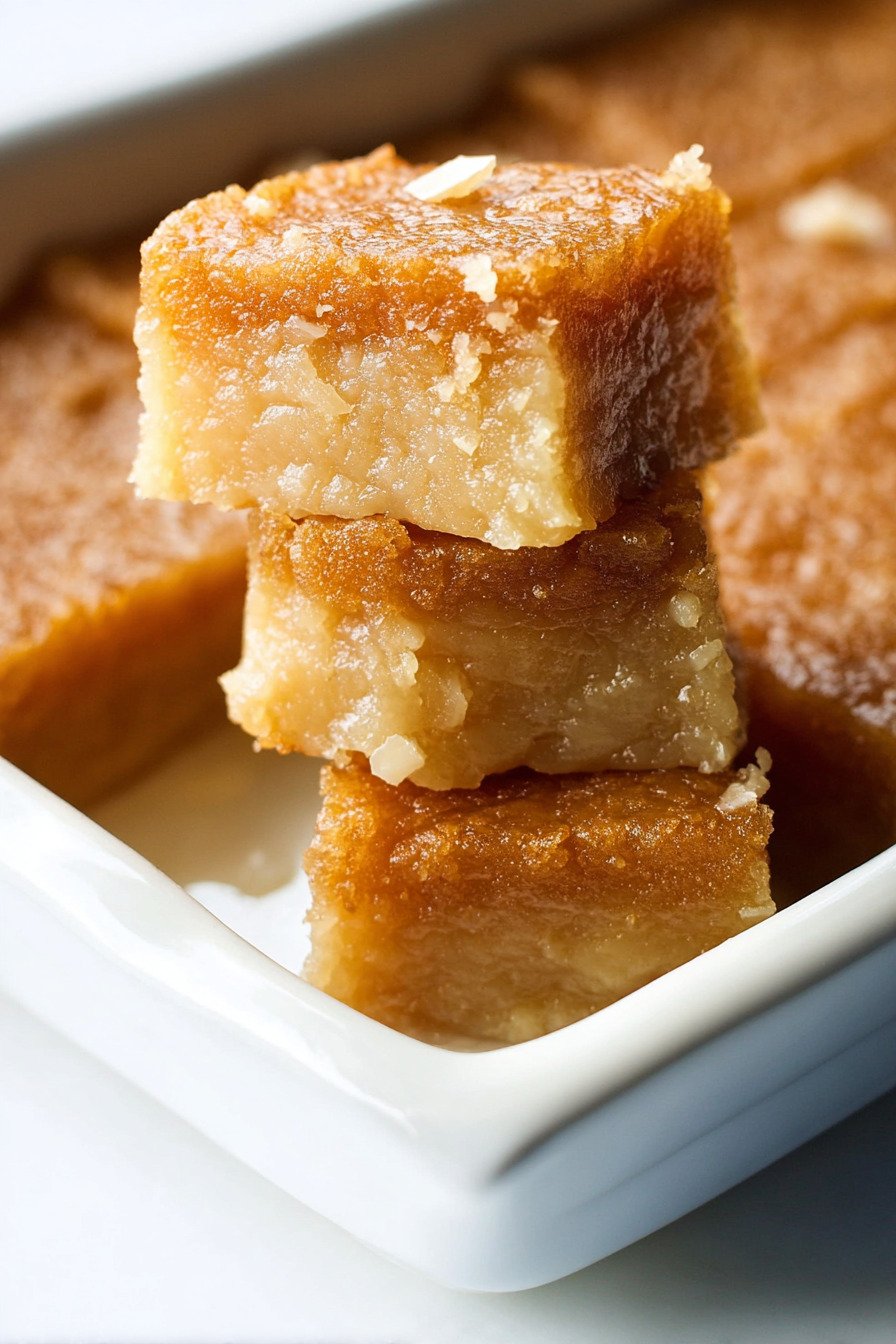
Step 5 Transfer the batter to the prepared baking dish and spread it out evenly. Bake until the top is golden and the center is set, usually around 55 to 65 minutes depending on your oven.
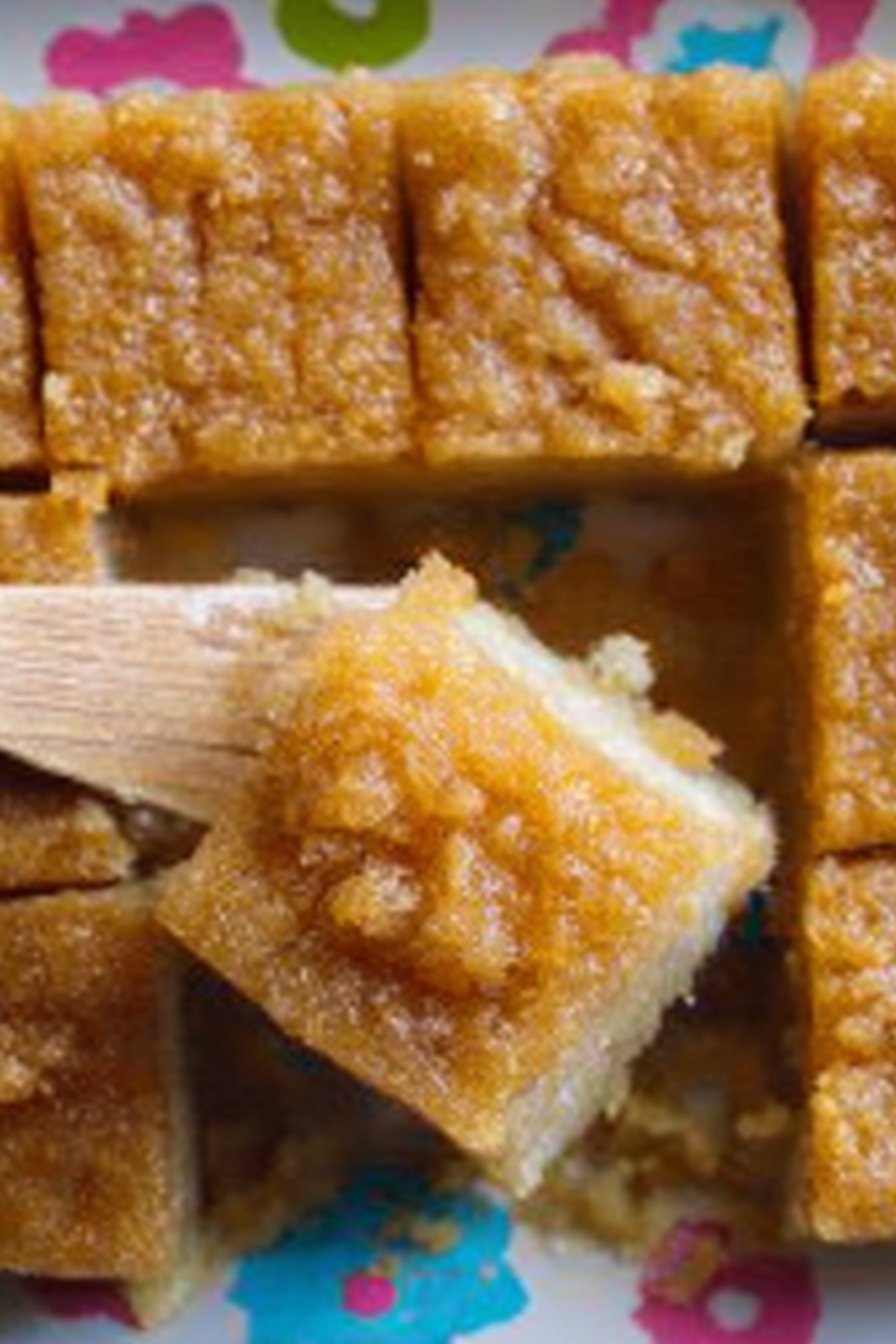
Step 6 Let the butter mochi cool completely before slicing. This resting time helps the texture settle so you get neat squares and the best chewy bite.
5) Tips for Making Hawaii Butter Mochi Recipe (Local Style)
The most important tip for success is to use mochiko sweet rice flour and not regular rice flour. Mochiko gives you the signature chewy texture that defines a good butter mochi recipe, while other flours will not produce the same result. If you are trying a homemade mochi recipe for the first time, this one detail makes all the difference.
For the smoothest batter, whisk thoroughly and make sure the melted butter is not too hot when you add it to the wet ingredients. This keeps the mixture silky and prevents the eggs from cooking too early. A smooth batter helps the finished dessert bake evenly and gives you that beautiful uniform texture in every slice.
This recipe is also easy to customize if you want to explore more flavors. You can add ube flavoring for an ube butter mochi recipe, stir in cocoa for a chocolate mochi recipe twist, or top the baked squares with fruit for inspiration from a strawberry mochi recipe. Even with variations, the original is still a mochi recipe easy enough to return to again and again.
6) MakingHawaii Butter Mochi Recipe (Local Style) Ahead of Time
This dessert is a great make-ahead option because the texture holds up very well after baking. You can prepare the batter a few hours in advance, cover it, and keep it chilled until you are ready to bake. Give it a gentle stir before pouring it into the pan so everything is evenly mixed.
You can also bake the full butter mochi recipe a day ahead and let it cool completely before covering it tightly. In fact, many people find the texture even better after it has had time to rest, since the mochi becomes a little more settled and chewy. That makes it perfect for gatherings, dessert tables, and stress-free entertaining.
If you are planning a dessert spread from your All Recipes collection, slicing the mochi in advance is another smart move. Once cooled, cut it into squares and store the pieces in a covered container until serving time. This makes it easy to plate and share whenever you need it.
7) Storing Leftover Hawaii Butter Mochi Recipe (Local Style)
Leftover butter mochi can be stored in an airtight container at room temperature for a day or in the refrigerator for up to four days. Chilling helps preserve freshness, especially in warmer kitchens, though the texture will become a bit firmer once cold. Letting it sit at room temperature before serving helps bring back some of its softness.
For longer storage, you can freeze individual slices wrapped tightly and placed in a freezer-safe container. Thaw them in the refrigerator or at room temperature, then warm very briefly if desired. This is a wonderful way to keep a homemade mochi recipe on hand whenever a dessert craving strikes.
To enjoy leftovers in a new way, serve slices with fresh berries, a dusting of powdered sugar, or a drizzle of coconut sauce. You can even turn it into part of a dessert platter alongside fruit and tea for a simple but elegant treat. Its chewy texture makes it especially fun to repurpose without losing what makes it special.
8) Try these main course recipes next!

9) Hawaii Butter Mochi Recipe (Local Style)
Hawaii Butter Mochi Recipe (Local Style Dessert)
Ingredients
Dry Ingredients
- 2 cups mochiko sweet rice flour
- 1 1/2 cups granulated sugar
- 2 teaspoons baking powder
- 1/4 teaspoon salt
Wet Ingredients
- 4 large eggs
- 1 can (13.5 ounces) full-fat coconut milk
- 1 can (12 ounces) evaporated milk
- 1/2 cup unsalted butter, melted
- 1 teaspoon vanilla extract
For the Pan
- 1 tablespoon unsalted butter for greasing
Instructions
Prep
- Preheat the oven to 350°F.
- Grease a 9×13-inch baking dish well with butter.
- In a large mixing bowl, whisk together the mochiko sweet rice flour, sugar, baking powder, and salt.
Mix and Bake
- In a separate bowl, whisk the eggs until smooth.
- Add the coconut milk, evaporated milk, melted butter, and vanilla extract, then whisk until fully combined.
- Pour the wet mixture into the dry ingredients and whisk until the batter is smooth and lump-free.
- Transfer the batter to the prepared baking dish and spread it evenly.
- Bake for 55 to 65 minutes, or until the top is golden and the center is set.
- Cool completely before cutting into squares for the best chewy texture.
10) Nutrition
Serving Size 1 portion Calories 238 Sugar 18 g Sodium 95 mg Fat 9 g Saturated Fat 7 g Carbohydrates 36 g Fiber 1 g Protein 3 g Cholesterol 39 mg


Leave a Comment