
I’ve always had a soft spot for tiramisu, but sometimes, I just want a quick little dessert that doesn’t take up my whole afternoon—or my fridge space. That’s where these mini tiramisu cups come in. They’re like your favorite Italian dessert but shrunk down to fit into your hand (or maybe just two bites if you’re like me). These dessert cups are light, creamy, and give you that rich coffee-and-cocoa hit without the commitment of a full cake. I’ve taken the best parts of the classic tiramisu and simplified them, making it more approachable for last-minute dinner guests or, let’s be honest, random Wednesday cravings. You don’t need any fancy equipment or a culinary degree—just a mixing bowl and a spoon will do. Whether you’re after a healthy tiramisu recipe, the best tiramisu recipe to win over a crowd, or just a quick tiramisu recipe you can whip up before the taco cups even finish baking, this one checks all the boxes. I call that a win in the appetizer recipes department.
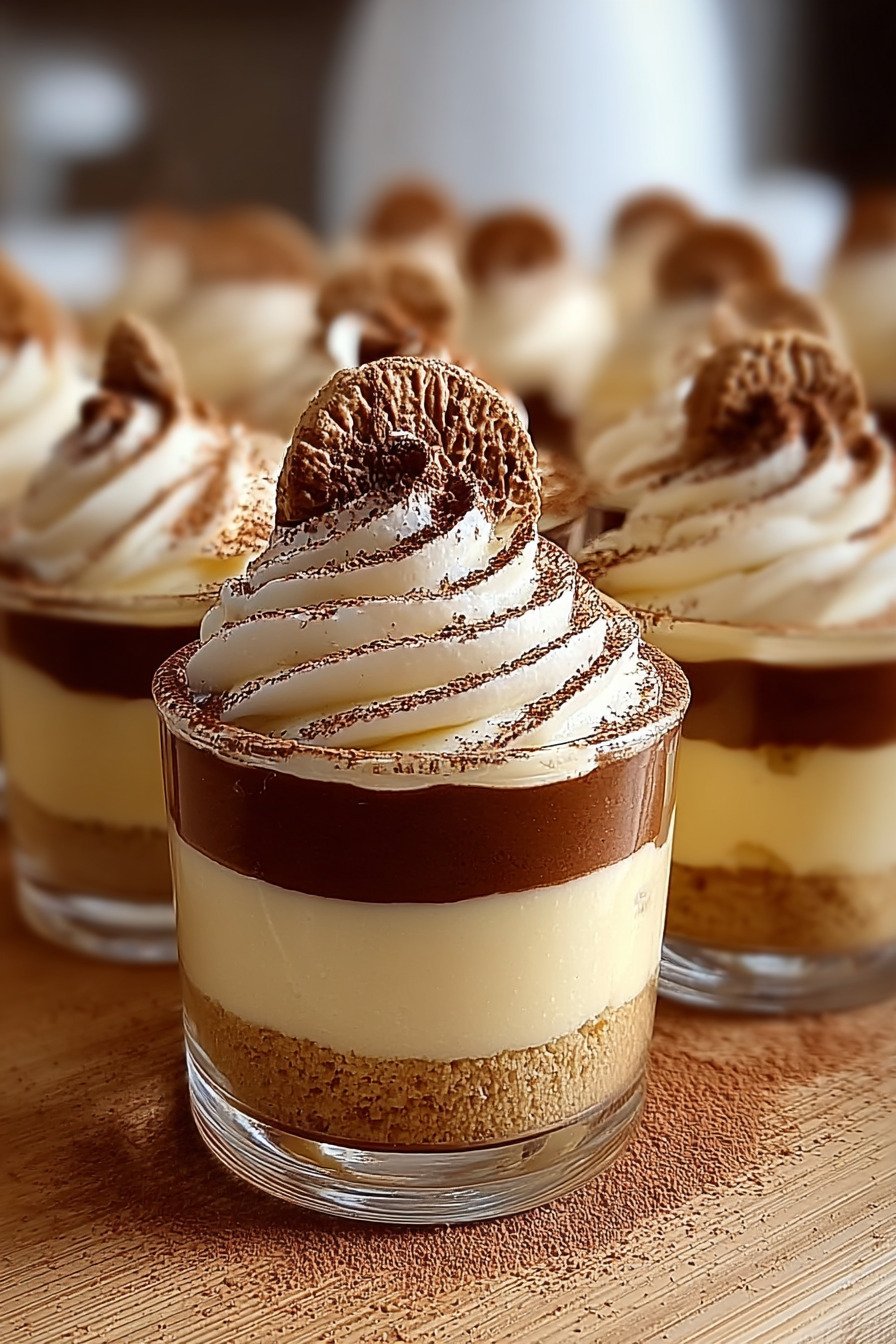
Table of Contents
- 1) Key Takeaways
- 2) Easy Mini Tiramisu Cups Recipe
- 3) Ingredients for Mini Tiramisu Cups
- 4) How to Make Mini Tiramisu Cups
- 5) Tips for Making Mini Tiramisu Cups
- 6) Making Mini Tiramisu Cups Ahead of Time
- 7) Storing Leftover Mini Tiramisu Cups
- 8) Try these dessert recipes next!
- 9) Mini Tiramisu Cups
- 10) Nutrition
1) Key Takeaways
- Mini Tiramisu Cups are quick, creamy, and no-bake.
- They’re portioned in individual cups for easy serving.
- This recipe uses classic tiramisu flavors with a fun twist.
- Perfect for gatherings, parties, or a simple night in.
2) Easy Mini Tiramisu Cups Recipe
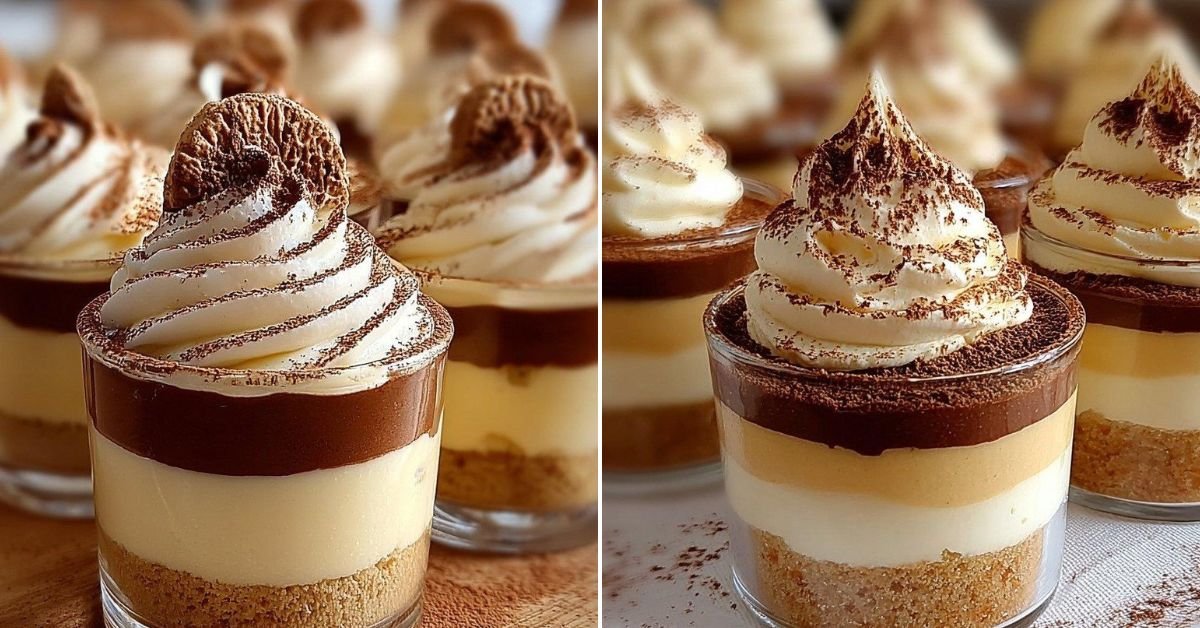
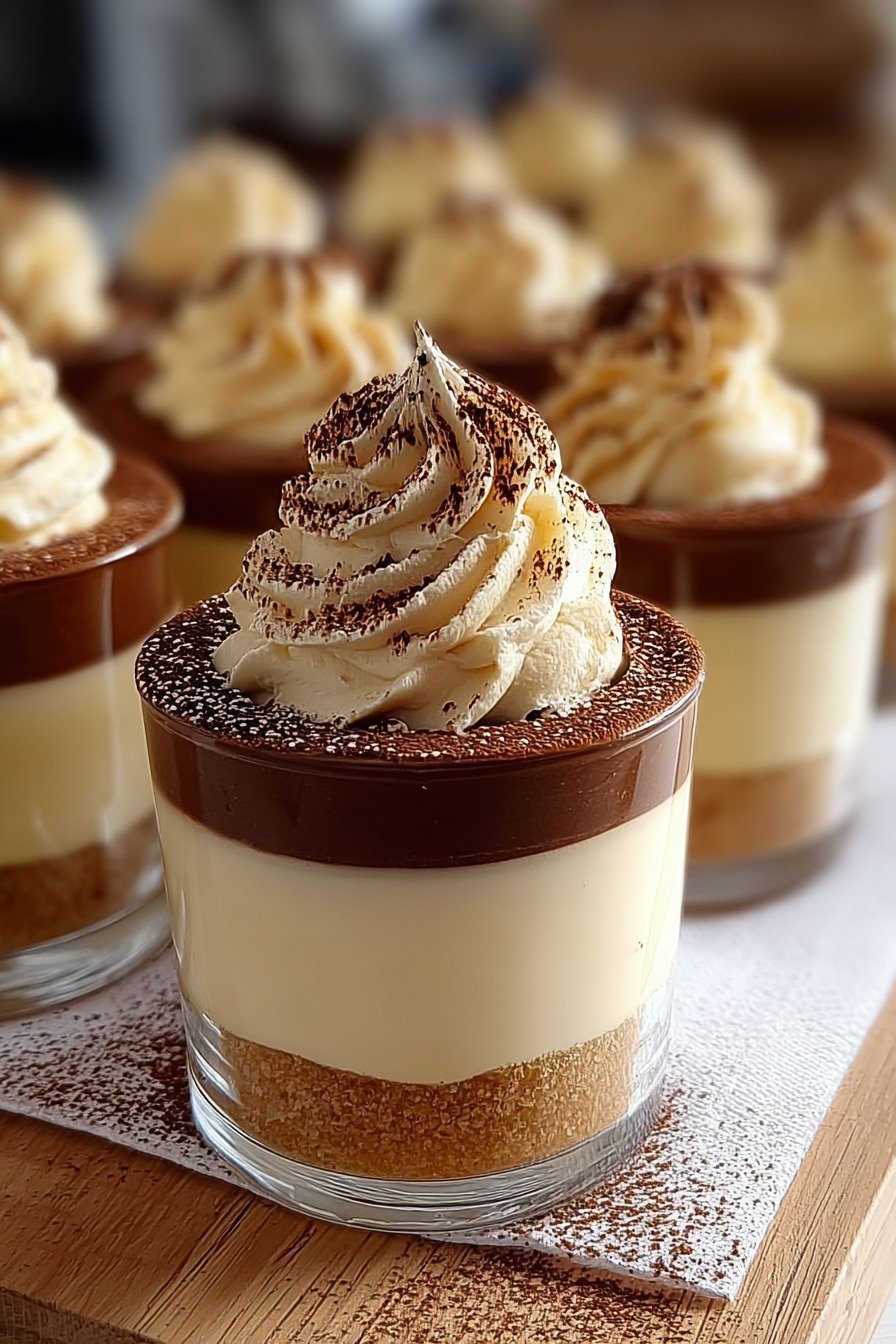
I don’t know about you, but when I crave something sweet, I want it now. That’s why I keep this easy mini tiramisu cups recipe in my back pocket. No oven, no stress, just creamy layers of coffee-soaked ladyfingers and mascarpone cream, stacked in adorable little cups. It’s dessert meets appetizer recipes with a wink and a nod.
They look elegant, but really, they’re a cinch to whip up. You just build, layer, chill, and done. These cups have saved me more than once when guests popped in last minute. Honestly, it’s one of those dessert cups recipes that feels fancier than it is.
I’ve tested different approaches, and this tiramisu easy recipe hits all the right notes without making you pull out the stand mixer or worry about raw eggs. It’s reliable, indulgent, and versatile enough to tweak if you want to make a healthy tiramisu recipe version.
3) Ingredients for Mini Tiramisu Cups
Heavy Whipping Cream: This is the magic behind that light, fluffy texture. When whipped just right, it adds volume and air that balance the richness of the mascarpone.
Mascarpone Cheese: Silky and slightly tangy, mascarpone brings that signature tiramisu creaminess. It’s worth grabbing the real stuff for that authentic Italian flavor.
Granulated Sugar: Just enough sweetness to bring everything together without overpowering the espresso flavor.
Vanilla Extract: A splash of vanilla rounds out the cream mixture. Use pure extract if you have it—it makes a difference.
Brewed Coffee: Strong, cold coffee gives these cups their bold base. I usually go with espresso for that rich bite, but your favorite dark roast works too.
Ladyfinger Cookies: These soak up the coffee like little sponges. They soften into that melt-in-your-mouth texture we all love in tiramisu.
Cocoa Powder: A dusting on top adds just enough bitterness to balance the sweet cream. Plus, it looks pretty darn good.
Mini Cups or Glasses: Use whatever you have—glass jars, plastic dessert cups, or even espresso cups work beautifully for these.
4) How to Make Mini Tiramisu Cups
Step 1: Whip the cream in a large bowl until soft peaks form. You’ll want it fluffy but not stiff. Set it aside for a minute.
Step 2: In another bowl, stir together mascarpone, sugar, and vanilla until smooth. Take your time to mix out any lumps.
Step 3: Gently fold the whipped cream into the mascarpone mix. Don’t overmix. You want to keep that light, creamy texture intact.
Step 4: Dip each ladyfinger briefly in coffee. Don’t soak too long or they’ll fall apart. Just a quick dunk does it.
Step 5: Layer a few dipped ladyfinger halves into the bottom of your cup. Spoon some cream mixture on top and repeat with one more cookie and cream layer.
Step 6: Dust each cup with cocoa powder. You can use a mesh strainer or even a small spoon. Keep it light.
Step 7: Chill the cups in the fridge for at least one hour. If you’ve got time, two or three is even better.
5) Tips for Making Mini Tiramisu Cups
If you’ve ever tried making tiramisu and ended up with a soggy mess or grainy cream, don’t worry. I’ve been there too. Let me help you dodge the usual mistakes and make this one of your best appetizer recipes ever.
First, use cold coffee. Hot coffee will break the ladyfingers before they reach the cup. Also, go for short dips—not soaks. Think of it like dunking a cookie in milk. Quick in, quick out.
Second, don’t skip the chill time. I know it’s tempting to dig in right away, but a couple of hours in the fridge lets the flavors settle and the cookies soften just enough. And if you’re turning this into a healthy tiramisu recipe, sub in Greek yogurt for mascarpone and cut back on sugar. Still tastes great.
6) Making Mini Tiramisu Cups Ahead of Time
These are the kind of dessert cups that actually get better after a little rest. I usually make them the night before a party and they’re perfect by the time guests arrive. The layers hold their shape, and the flavors come together in a way that’s hard to beat.
When prepping ahead, just cover the cups with plastic wrap. If you’re taking them somewhere, slide them into a tray with a lid. They’ll stay safe and chill until you’re ready to serve.
And hey, if you’re testing out a few appetizer recipes to round out your menu, these pair nicely with savory bites like taco cups or mini meatballs. Sweet and salty always wins.
7) Storing Leftover Mini Tiramisu Cups
If you somehow have leftovers, lucky you. These mini tiramisu cups store well for up to three days. Keep them chilled and covered. The coffee flavor deepens over time, which I actually love.
If the cocoa topping gets a little damp, add a fresh dusting before serving again. It freshens up the presentation and brings back that bold finish on top.
They don’t freeze well, so I wouldn’t bother trying. Just enjoy them cold, and maybe next time make a double batch. They disappear fast.
8) Try these dessert recipes next!
9) Mini Tiramisu Cups

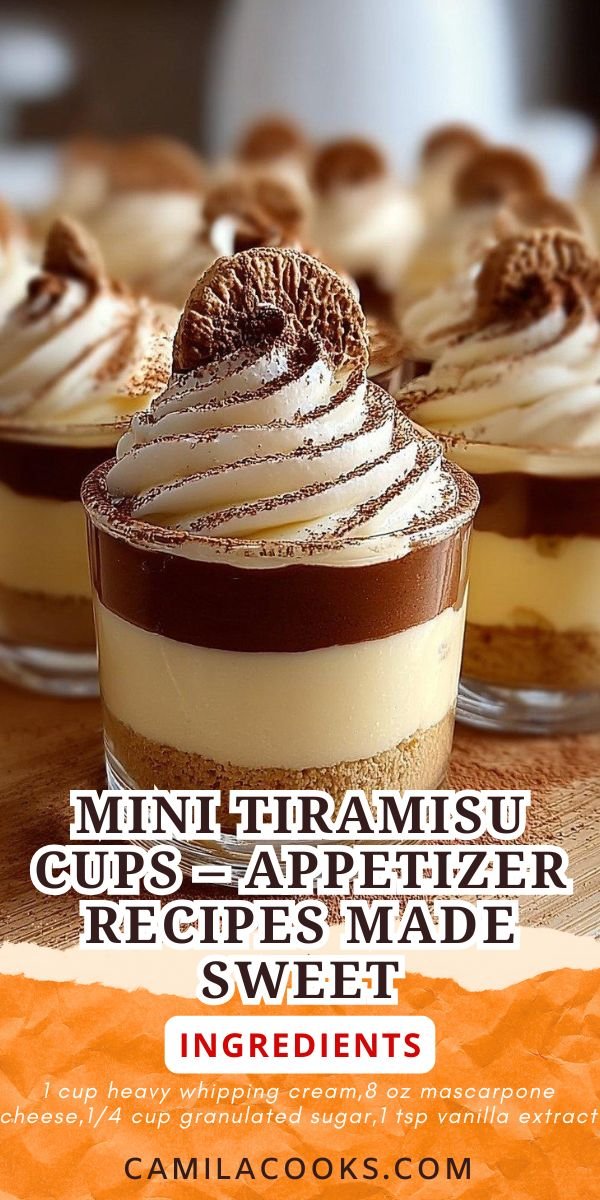
Mini Tiramisu Cups – Appetizer Recipes Made Sweet
Ingredients
- 1 cup heavy whipping cream
- 8 oz mascarpone cheese
- 1/4 cup granulated sugar
- 1 tsp vanilla extract
- 1/2 cup strong brewed coffee, cooled
- 12-16 ladyfinger cookies, broken in halves
- 2 tbsp cocoa powder, for dusting
- Mini dessert cups or small glasses
Instructions
- In a mixing bowl, whip the heavy cream until soft peaks form.
- In another bowl, blend the mascarpone, sugar, and vanilla until smooth.
- Gently fold the whipped cream into the mascarpone mixture.
- Dip ladyfinger halves quickly in coffee and layer them at the bottom of each dessert cup.
- Spoon a layer of the mascarpone cream on top.
- Repeat with another dipped ladyfinger layer, then another layer of cream.
- Dust the tops generously with cocoa powder.
- Chill in the fridge for at least 1 hour before serving—if you can wait that long.
10) Nutrition
Serving Size: 1 cup, Calories: 210, Sugar: 8 g, Sodium: 40 mg, Fat: 16 g, Saturated Fat: 9 g, Carbohydrates: 12 g, Fiber: 1 g, Protein: 3 g, Cholesterol: 50 mg


Leave a Comment