

I grew up thinking pita came only in plastic bags. Then I tried a hot round made at home and the pocket puffed like a little miracle. This pita bread recipe keeps the steps simple and the payoff big. The dough is kind, the bake is quick, and the smell makes neighbors nosey. We start with warm water and yeast. We add flour, oil, and salt. We knead till smooth and let it rest. That little rest gives chew and lift. On the stove or in the oven, the heat hits the dough and each round balloons. You get tender centers and light char. You can tear a piece and hear a soft sigh. Fill with salad or chicken. Swipe through hummus. Eat one plain if patience runs out. If you like choices, I have them. Try a homemade pita bread recipe on a busy night when time feels short. Save these pita bread recipe ideas for lunches. Use an easy pita bread recipe when you want less fuss. Have a sourdough pita bread recipe day for tang. Need speed, pick a quick pita bread recipe. Crave a nutty taste, go with a whole wheat pita bread recipe. We bake, we eat, we grin.
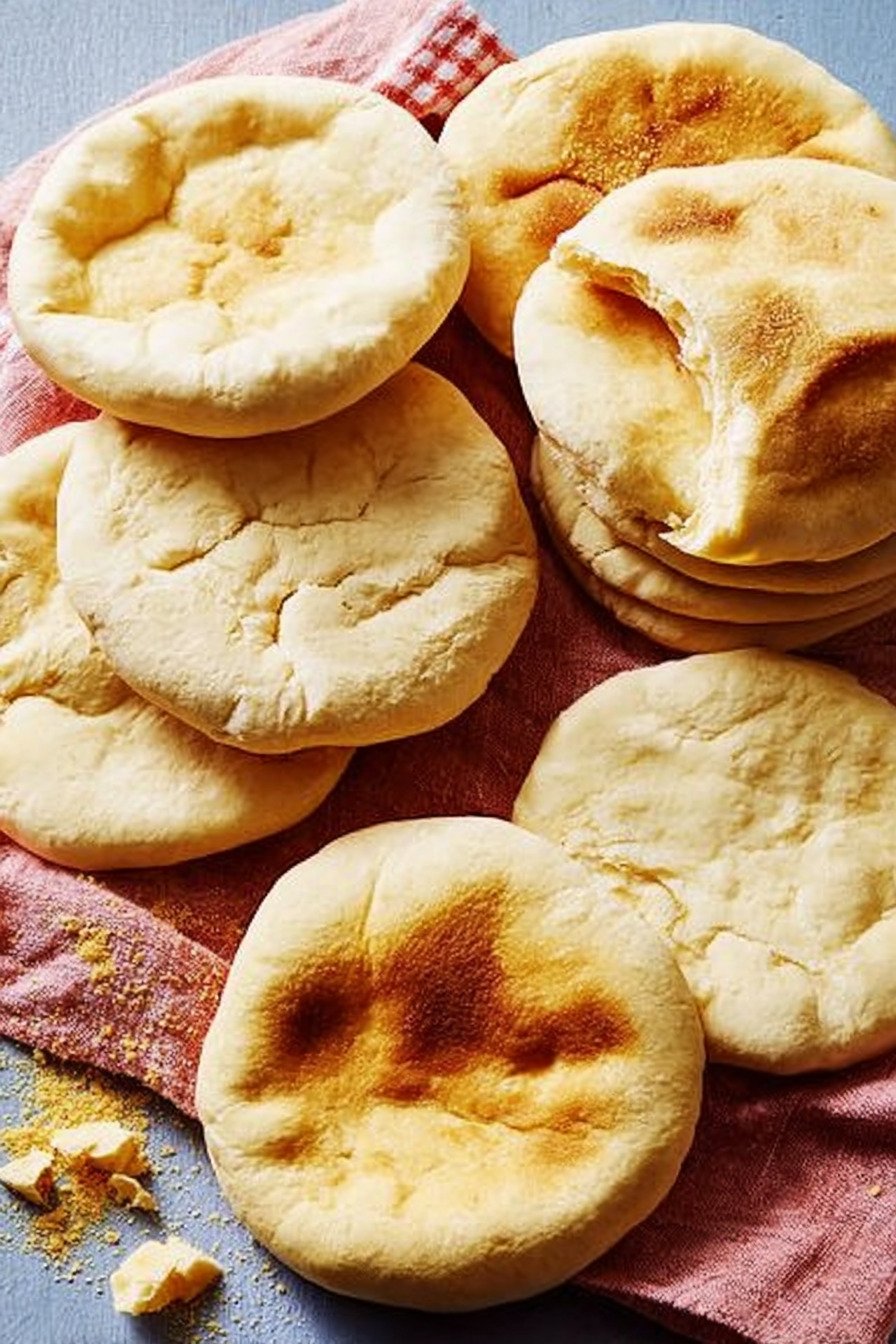
Table of Contents
- 1) Key Takeaways
- 2) Easy Homemade Pita Bread Recipe
- 3) Ingredients for Homemade Pita Bread
- 4) How to Make Homemade Pita Bread
- 5) Tips for Making Homemade Pita Bread
- 6) Making Homemade Pita Bread Ahead of Time
- 7) Storing Leftover Homemade Pita Bread
- 8) Try these Bread next
- 9) Homemade Pita Bread
- 10) Nutrition
1) Key Takeaways
I wrote this for cooks who want warm bread that puffs and smiles back. The main goal stays clear. A simple pita bread recipe that gives a soft pocket and light char. I keep tools basic and steps short. We work with warm water and yeast. We knead a calm dough. We use high heat. We rest when needed. Twice in this first line you saw pita bread recipe. That was on purpose and it reads fine.
We bake on a hot stone or a flipped sheet. A skillet works too. I like cast iron since it holds heat and gives spots that look great in photos. I am patient between rounds. I cover the cooked ones with a towel so steam keeps them tender. I taste one plain. I laugh a little when the pocket opens like a tiny balloon.
We use pantry items. Flour. Water. Yeast. Oil. Salt. The flavor grows from time and heat more than tricks. On Camila Cooks at www.camilacooks.com I try to show that any home oven can do this. I write like I cook. I keep it friendly. I leave room for your style. I share flops and wins. If a pita does not puff, we eat it anyway with a grin.
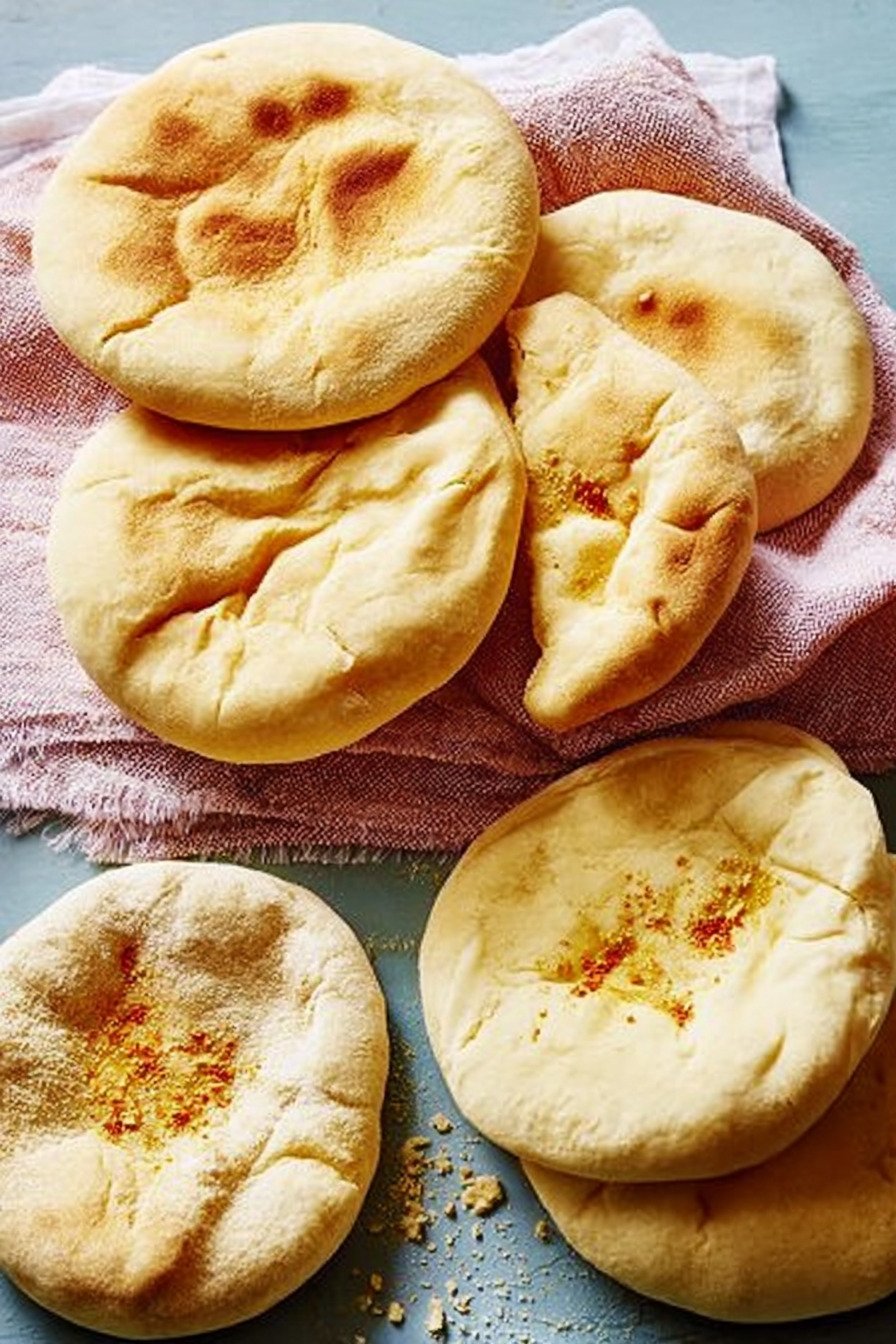
2) Easy Homemade Pita Bread Recipe
I love recipes that feel doable on a weeknight. This one does. The dough mixes fast and rests while you clean the counter or drink water and hum. The method fits a small kitchen. You need a bowl, a spoon, and a spot for a quick knead. The first rise gives the dough that gentle bounce we want. Here the main keyword drops again in a natural way. You can master this pita bread recipe without drama.
I learned to make pitas after a work shift ran late. I came home hungry with little energy. I warmed water and saw the yeast bloom and thought ok we are in business. The dough came together and felt like a soft cheek under my hand. When the first round puffed, I forgot the long day. I split it and steam hit my face and I smiled like a kid near a bakery window.
Choose your path. Bake in the oven for big balloons or cook on the stove for extra spots. Friends request the stove batch for those char kisses. For speed use the quick pita bread recipe path. For a quiet Sunday try a sourdough pita bread recipe spin for light tang. For a lighter vibe swap some flour and get a whole wheat pita bread recipe feel. Camila from Camila Cooks supports your choice and cheers from the sink.
3) Ingredients for Homemade Pita Bread
Warm water I start with warm water that feels like a nice bath for fingers. It wakes the yeast without shock. Too hot and the yeast sulks. Too cool and the rise drags. Aim for warm that feels friendly, not hot. The right temp sets the tone for a dough that plays nice.
Instant yeast I keep a small jar in the fridge. The granules give strong lift and need no pre step. If you like a tiny bloom, sprinkle yeast on the sweetened water and watch the foam rise. It is a mood boost and tells us the party started.
Sugar A small spoon helps yeast wake fast and adds a hint of color in the heat. I have tried honey. I liked it. I still use sugar when I want a clean flavor that lets the wheat shine. Both paths work and both taste good.
Olive oil A spoon of oil softens the crumb and keeps pitas tender on day two. It makes the dough smooth under the palm. I rub a little on the bowl. Later the dough slips out with no fuss. Less sticking, less scrubbing, more time for hummus.
All purpose flour This flour gives balance. Structure holds the pocket and chew feels right. I sift if the bag sat a long time. If you crave more pull use bread flour for half the mix. The pocket likes that swap and stands tall.
Whole wheat flour A small share adds nutty notes and warm color. It drinks more water so the dough may ask for a splash more. I listen to the feel not just the cup. When the dough turns supple I stop and smile. That is the sign.
Fine salt Salt wakes flavor and strengthens gluten. I mix it with the flour so it spreads well. A dough without salt tastes flat and makes me sad. A dough with the right pinch tastes alive. Simple truth. Good bread loves good salt.
Extra flour for dusting A little dust keeps rounds from sticking. I dust the counter and the pin and my hands. Too much dust and the dough dries. Aim light and smooth. Think powder not drift.
Neutral oil for skillet On the stove a thin brush helps with color and releases the round with no tear. I use just a kiss of oil. The heat does the rest. Spots show up. The kitchen smells toasty and clean. Pitas pile up and call for fillings.
4) How to Make Homemade Pita Bread
Step 1 Mix warm water with sugar in a large bowl. Sprinkle yeast over the top. Wait a short beat till it looks foamy and happy. Stir in olive oil. This start sets up a smooth path. You feel calm and ready.
Step 2 Add all purpose flour and whole wheat flour and salt. Stir with a spoon till a shaggy ball forms. It will look rough. That is fine. Tip it onto a light dusted counter. Begin a steady knead. Push. Fold. Turn. Repeat.
Step 3 Knead till the surface softens and the dough springs back. In a mixer go six minutes on low. By hand go eight to ten with a calm rhythm. When gluten wakes, the dough feels like a small pillow. Place it in a light oiled bowl and cover.
Step 4 Let it rise till doubled. Warm room means about one hour. Cooler room asks for more time. I press a fingertip and watch the dent ease back slow. That little move tells me we can move on and shape.
Step 5 Turn the dough out. Press the gas out with a soft hand. Cut into eight even pieces. Roll each into a ball. Cover and rest ten minutes. This pause lets gluten relax so rolling goes smooth and round.
Step 6 Roll each ball into a circle about six inches across. Keep the pin and counter dusted. Stack rounds with a cloth on top. Heat the oven with a stone near the top or heat a cast iron skillet. Hot surface makes that balloon move happen.
Step 7 Bake two or three at a time or cook one at a time on the stove. Watch for a swell and pale spots. Flip once if needed. Pull and wrap in a towel. The stack keeps soft. You did it. You just made a batch that will not last long.
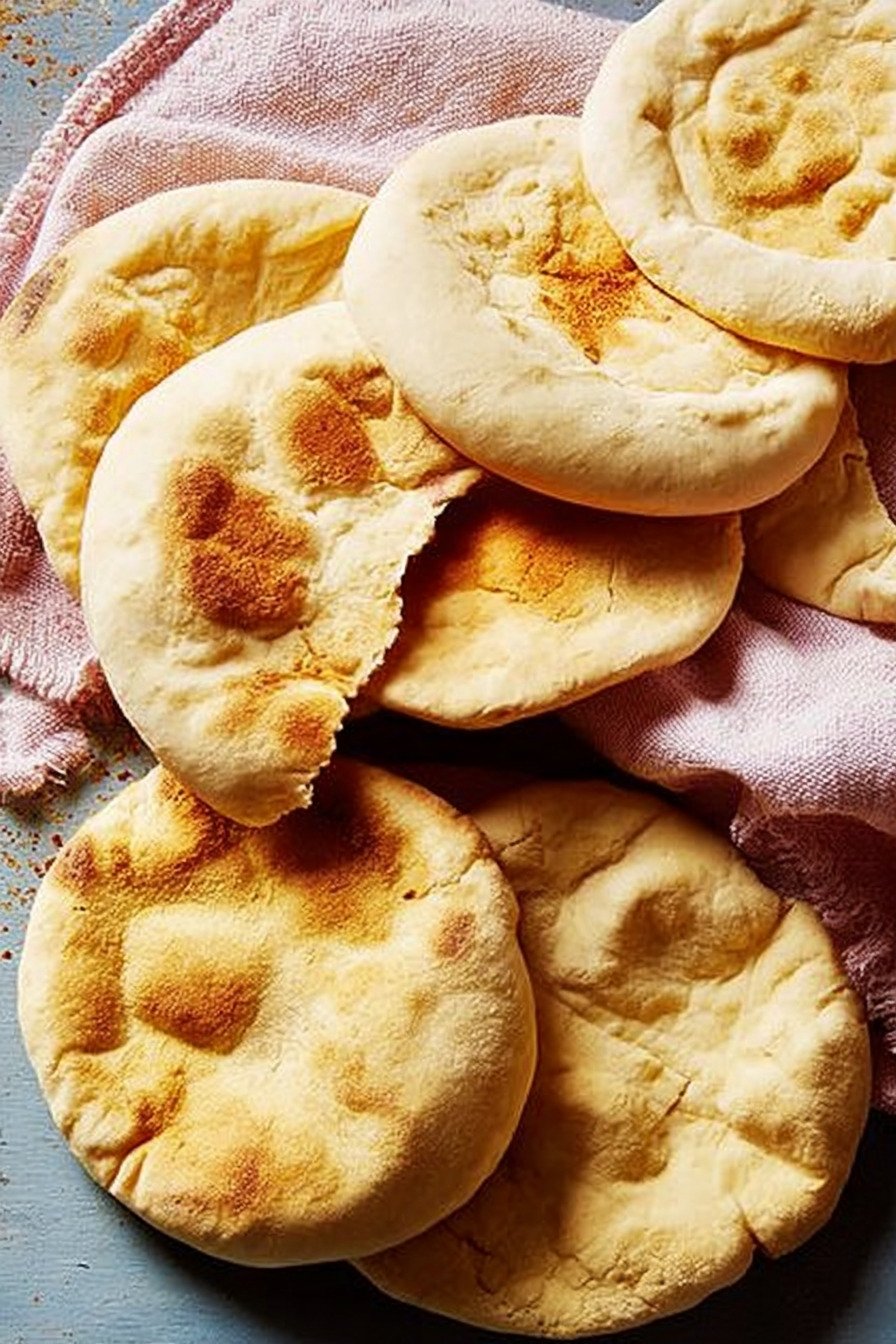
5) Tips for Making Homemade Pita Bread
Heat solves most puff woes. The surface must be very hot. Preheat longer than you think. A hot stone gives huge pockets that make you cheer. On the stove keep the pan hot between rounds. Warm equals puff. Warm equals smile.
Roll even. Thick edges block steam from splitting the layers. Keep the center and edge close in thickness. I lift the round and check the light through the dough. If one side looks heavy I give it one more roll and move on. Simple checks help a lot.
Tweak the flour mix to suit your taste. For a 50 percent whole grain swap add more water by feel. For a no knead pita bread approach mix and rest for twenty minutes then give a few folds and let time do work. This path tastes great and fits a busy day.
6) Making Homemade Pita Bread Ahead of Time
I often plan a double batch for later. The dough holds well in the fridge and gains flavor. Mix in the evening and let it rise a bit. Press it down and cover tight. Chill till the next day. When you get home, shape and bake. Dinner moves fast and the kitchen smells like a tiny bakery.
If life gets wild, roll the rounds in advance. Stack with paper between and chill for a day. Cook to order in a hot skillet. Friends love the show. The puff feels like a magic trick you can repeat. That quick service helps when a game runs late and hunger grows.
For a change, try an easy pita bread recipe plan where you parbake till pale, then cool and freeze. On busy nights, finish bake from frozen. The pocket wakes right up. On a calm Sunday test a sourdough pita bread recipe batch and leave time for a long rise that adds tang and a tender crumb.
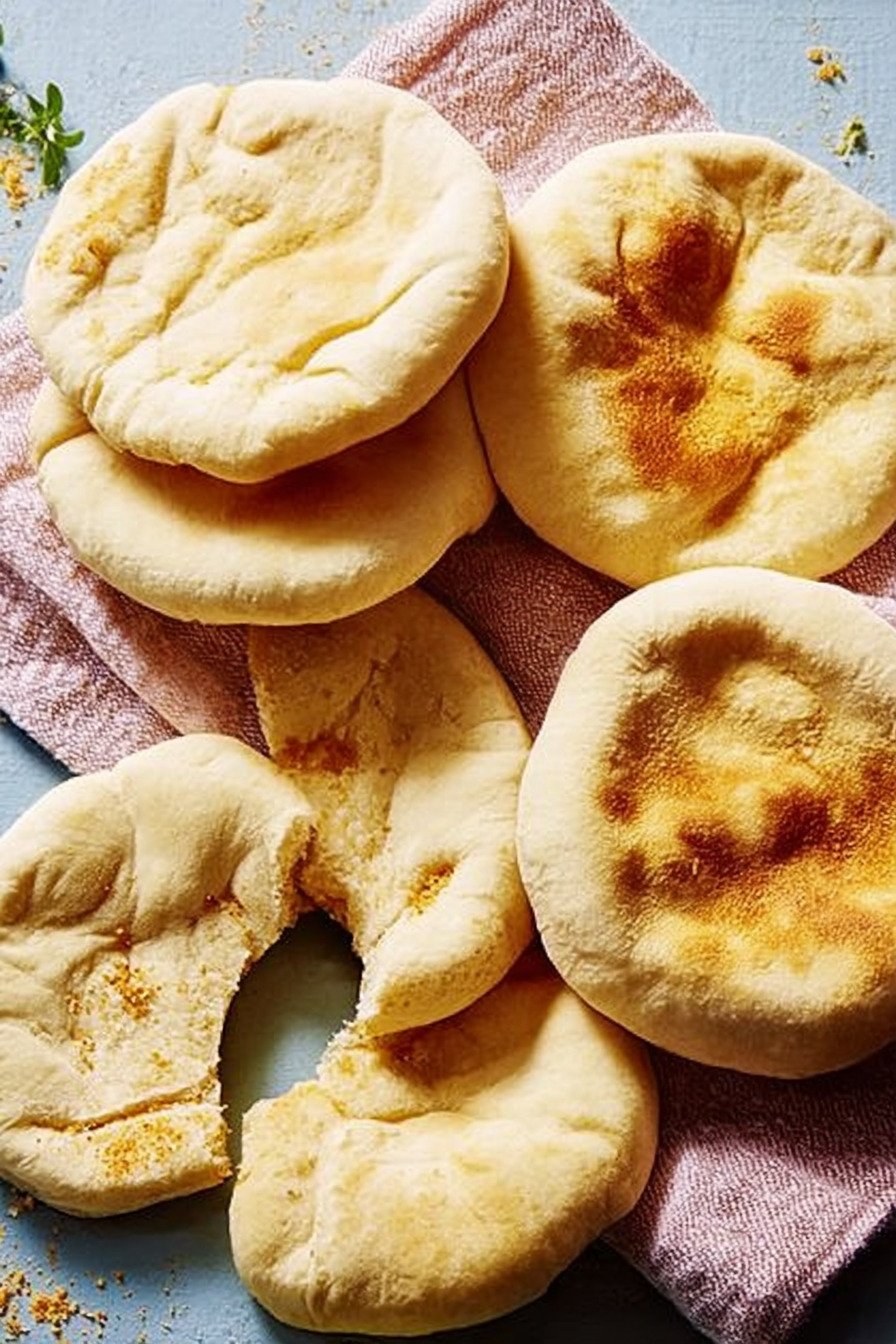
7) Storing Leftover Homemade Pita Bread
Fresh tastes best. That said, smart storage helps. Cool pitas to warm and slide them into a zip bag with a paper square. The paper catches steam and keeps the texture nice. Leave the bag on the counter for one day or move to the fridge for two.
Reheat with care. I use a warm skillet and a lid. Thirty seconds per side brings back the sigh and the soft chew. For a crowd, wrap a stack in foil and warm in a low oven. If the pocket sticks shut, press with tongs for a few breaths and it opens.
For longer storage, freeze. Lay flat rounds on a sheet. Once firm, move to a bag. Pull what you need. Thaw on the counter and toast. That quick heat gives life. This path saves waste and keeps snacks close. A pita bread recipe works best when it fits real weeks.
8) Try these Bread next


9) Homemade Pita Bread
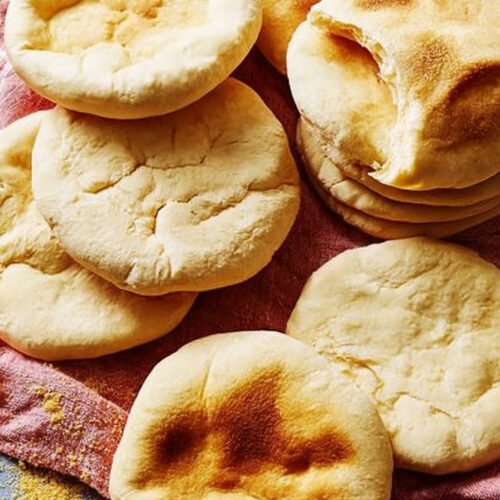
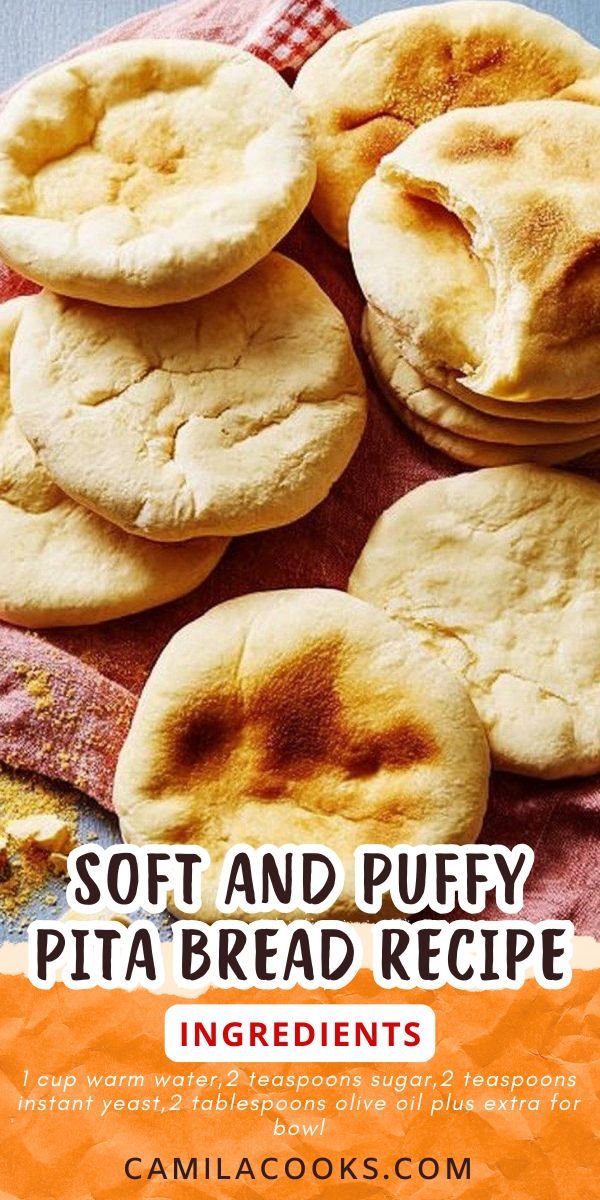
Soft And Puffy pita bread recipe
Ingredients
For the Dough
- 1 cup warm water
- 2 teaspoons sugar
- 2 teaspoons instant yeast
- 2 tablespoons olive oil plus extra for bowl
- 2 and 3 quarter cups all purpose flour
- 1 half cup whole wheat flour
- 1 and 1 half teaspoons fine salt
For Cooking
- Extra flour for dusting
- Neutral oil for skillet if using stove
Instructions
Make the Dough
- Stir warm water and sugar in a large bowl then sprinkle in yeast and wait till foamy about five minutes
- Mix in olive oil
- Add all purpose flour whole wheat flour and salt then stir with a spoon till a shaggy dough forms
- Knead on a lightly floured surface till smooth and stretchy eight to ten minutes or use a mixer for six minutes
- Place in a lightly oiled bowl cover and let rise till doubled about one hour in a warm spot
Shape
- Punch down the dough and divide into eight equal pieces then form balls
- Cover and rest ten minutes so the gluten chills a bit
- Roll each ball into a round about six inches across keeping the rest covered
Bake Or Cook
- For oven set a rack with a baking stone or an upside down sheet in the upper third then heat to five hundred degrees
- Bake two or three rounds at a time till puffed with light spots two to three minutes flip once if needed
- For stove heat a cast iron skillet over medium high add a light brush of oil then cook each round till puffed and spotted one to two minutes per side
Serve
- Wrap hot pitas in a clean towel to keep soft
- Split and fill or tear and dip best the day made but great toasted the next day
10) Nutrition
I am not a lab yet I track the basics for readers and for me. One round sits near two hundred ten calories with about one gram sugar and around six grams protein. Sodium sits near two hundred ninety milligrams when you use a light pinch in the dough. Fat reads near four grams with a half gram from saturated fat. Carbs tally near thirty eight grams with about two grams fiber. No cholesterol in a plain round. These numbers shift with swaps and size. If you add fillings the story changes fast so keep that in mind when you plan a meal.
On Camila Cooks I like to keep nutrition clear and calm. I link to more info when needed and I keep portions honest. This bread fills a lunchbox and can anchor dinner with salad and grilled chicken. It fits many styles and many diets. If you track macros, weigh your dough balls and note the total yield. That simple move keeps your week on track and leaves room for dessert.
To wrap this up with a few quick words, this pita bread recipe gives you a soft pocket, a clean list, and steady steps. We keep the tone down to earth and we keep the flavor high. I am Camila and I am glad you are here. You can always find more at Camila Cooks and you can always reach out when a batch goes sideways. We grow by baking and by sharing the wins and the flops.

Leave a Comment