
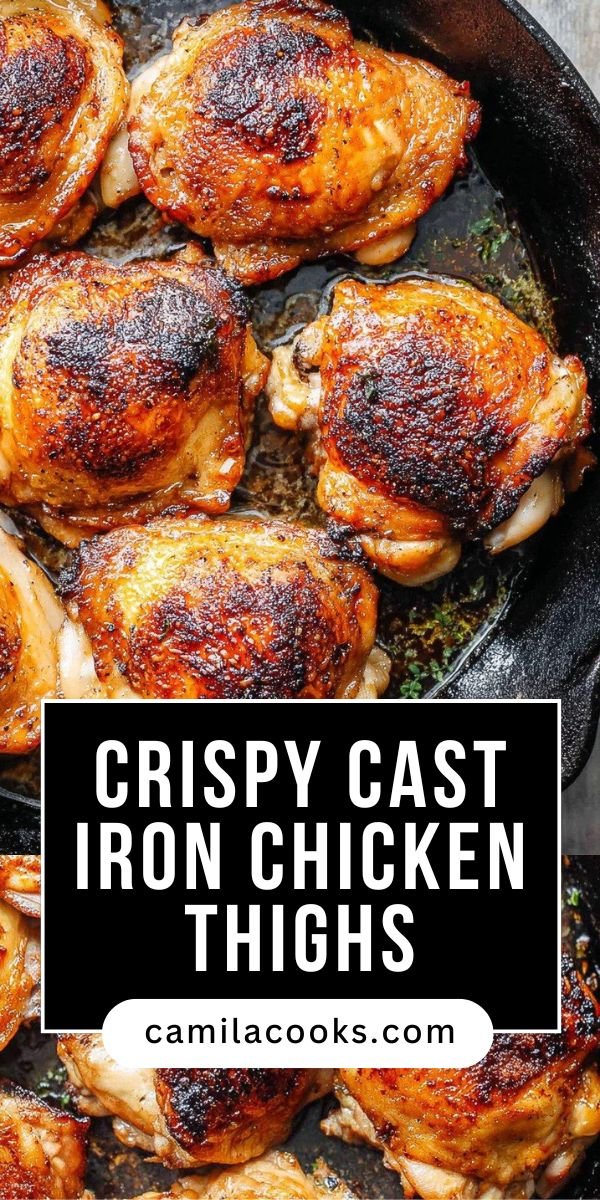
1) What I Learned Testing Cast Iron Chicken Thighs
Dry chicken skin can ruin dinner fast, especially when it looks browned but tastes chewy. I’m Camila, and my early batches of cast iron chicken thighs taught me that seasoning is only half the story; the skillet heat, dry skin, and resting time matter just as much. After testing pale skin, crowded pans, and rushed flips, I discovered that a hot 12-inch skillet plus a short oven finish gives the balance I wanted: crisp skin, juicy meat, and calm Sunday-dinner confidence. This is one of those cast iron skillet chicken thighs methods that feels simple because the technique finally makes sense.
Table of Contents
- 1) What I Learned Testing Cast Iron Chicken Thighs
- 2) Key Takeaways
- 3) Easy Cast Iron Chicken Thighs Recipe
- 4) Why Most Cast Iron Chicken Thighs Recipes Fail
- 5) Ingredients for Cast Iron Chicken Thighs
- 6) How to Make Cast Iron Chicken Thighs
- 7) Recipe Card: Cast Iron Chicken Thighs
- 8) Tips for Making Cast Iron Chicken Thighs
- 9) Common Mistakes & Fixes
- 10) How to Tell Cast Iron Chicken Thighs Are Done
- 11) Professional Secrets Behind Better Cast Iron Chicken Thighs
- 12) Best Dishes or Pairings to Serve With Cast Iron Chicken Thighs
- 13) Making Cast Iron Chicken Thighs Ahead of Time
- 14) Storing Leftover Cast Iron Chicken Thighs
- 15) FAQ (Real Cooking Questions)
- 16) Save This Cast Iron Chicken Thighs Recipe
- 17) Conclusion
- 18) Nutrition
2) Key Takeaways
- Dry skin is the first crisping step: Paper towels matter because surface moisture turns into steam and blocks browning.
- The skillet must be hot before the chicken goes in: A strong sizzle tells you the cast iron is ready to build a golden crust.
- Do not rush the flip: Chicken skin releases more cleanly once it has browned properly, so pulling too early can tear it.
- The oven finish protects juiciness: Searing starts the texture, while the 400°F oven cooks the meat through without scorching the skin.
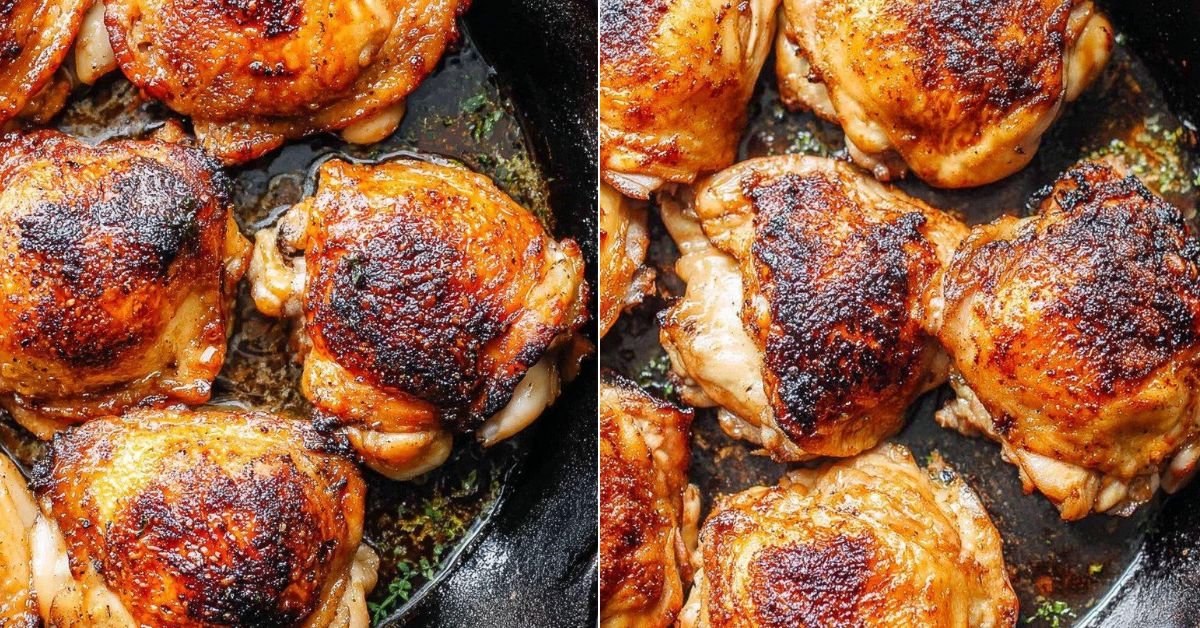
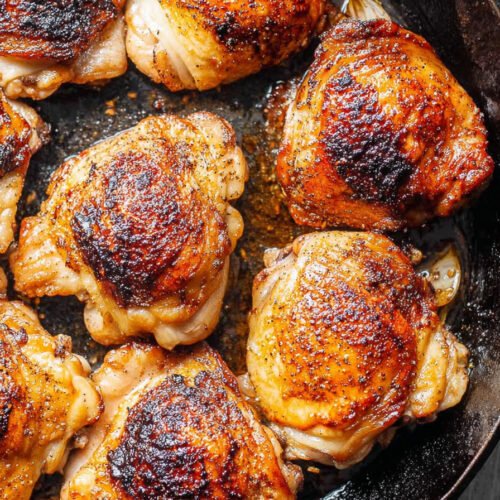
3) Easy Cast Iron Chicken Thighs Recipe
Cast iron chicken thighs work because the cooking method uses two different kinds of heat. The stovetop gives direct contact heat, which browns the skin and creates savory flavor. The oven gives surrounding heat, which cooks the bone-in chicken more evenly after the skin has already developed color. That combination is especially useful for bone-in, skin-on thighs because the skin needs strong heat, while the meat needs enough time to reach a safe internal temperature without drying out.
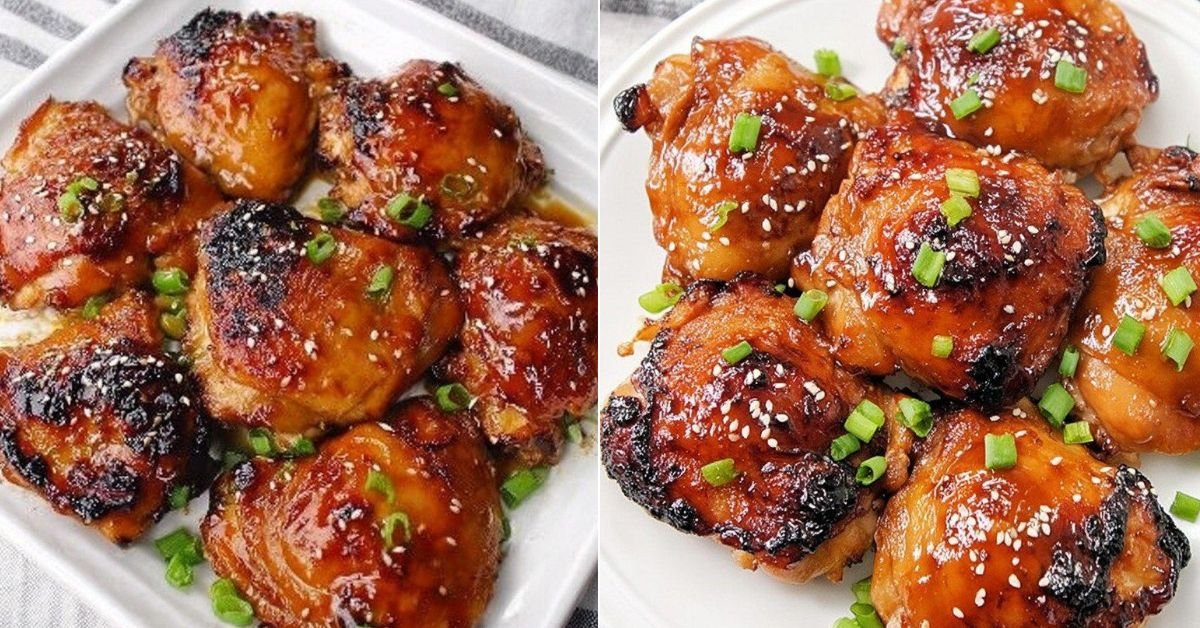
The goal is not just “cooked chicken.” The goal is skin that looks bronzed and crisp at the edges, meat that stays juicy near the bone, and seasoning that tastes even from the first bite to the last. Keeping the ingredient list simple also makes technique easier to notice. Salt, pepper, and a small amount of oil are enough when the pan is hot, the chicken is dry, and the oven finish is controlled.
4) Why Most Cast Iron Chicken Thighs Recipes Fail
Most cast iron chicken thigh recipes fail for one of a few predictable reasons. First, the chicken goes into the skillet wet. Even a thin layer of moisture can steam the skin before it sears, leaving it soft instead of crisp. Patting the thighs dry is not a fussy step; it directly changes the surface texture.
Second, the skillet is not hot enough. Cast iron holds heat well, but it needs time to preheat. If the pan is only warm, the chicken sits in oil and releases juices before browning. A properly heated skillet should make the chicken sizzle immediately when the skin-side hits the surface.
Third, the chicken is moved too soon. Skin that has not browned yet can cling to the pan. Once browning develops, the skin usually releases more naturally. Fourth, some cooks skip the thermometer and rely only on color. Bone-in chicken can look ready on the outside before the thickest part reaches 165°F. Finally, skipping the rest can make the juices run out too quickly, leaving the meat less tender on the plate.
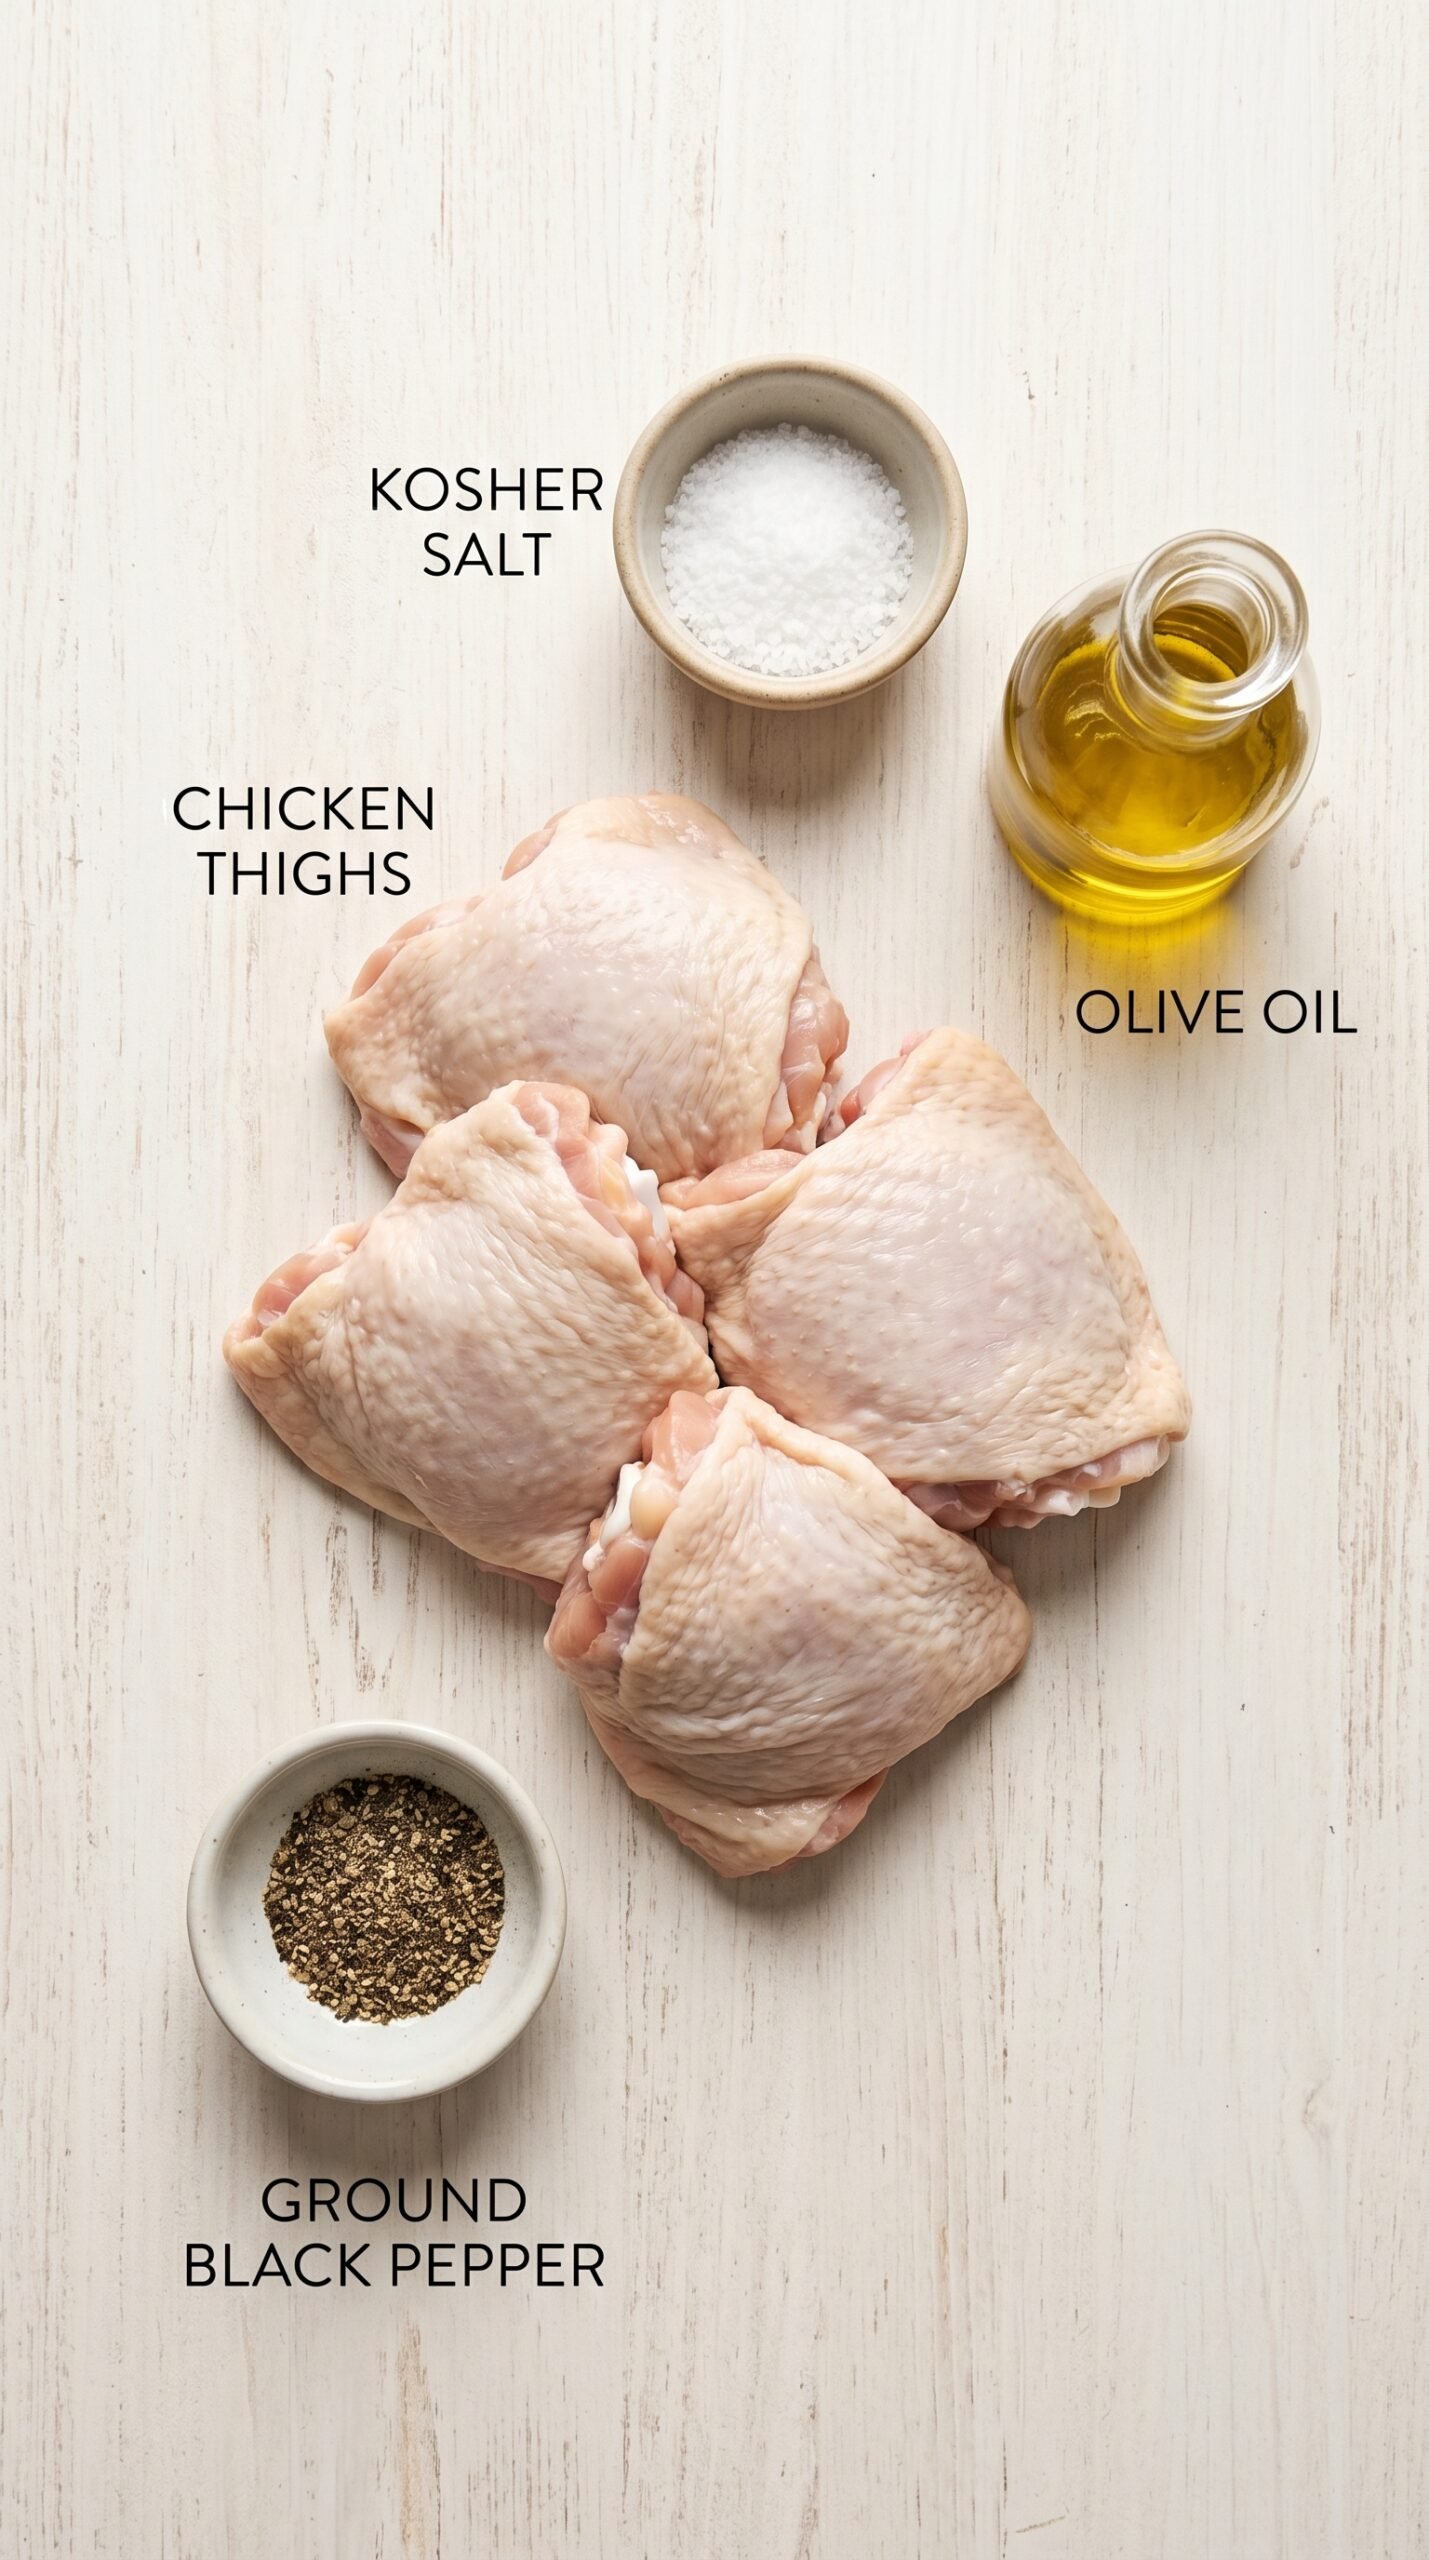
5) Ingredients for Cast Iron Chicken Thighs
Bone-in, skin-on chicken thighs: These are ideal for cast iron cooking because the skin protects the meat during searing, while the bone helps the thigh stay flavorful and juicy. Use them when you want a crisp-skin dinner with a richer texture than boneless chicken. If replaced with boneless thighs, the cooking time will be shorter and the oven finish should be watched closely.
Kosher salt: Salt seasons the chicken and helps draw a little moisture from the surface, which supports browning when the skin is patted dry. Use it before the chicken goes into the skillet so the seasoning has direct contact with both sides. If you substitute fine table salt, use less because it measures saltier by volume.
Ground black pepper: Pepper adds gentle heat and savory depth without covering the natural flavor of the chicken. Add it before searing so it warms into the surface seasoning. If you use very coarse pepper, expect a more noticeable bite and slightly more texture on the finished skin.
Olive oil: A small amount of oil helps the skin make even contact with the skillet and reduces sticking during the first sear. Use just enough to lightly coat the bottom of the pan. Avocado oil works well as a substitute because it handles higher heat cleanly, which is helpful for chicken thighs cast iron skillet cooking.
- Bone-in vs boneless thighs: Bone-in thighs take longer but stay juicy and flavorful; boneless thighs cook faster but can dry out if left in the oven too long.
- Olive oil vs avocado oil: Olive oil works with controlled medium-high heat, while avocado oil gives a little more high-heat flexibility.
- Skin-on vs skinless thighs: Skin-on thighs create the crisp, browned surface this method is built around; skinless thighs will not deliver the same texture.
- Kosher salt vs table salt: Kosher salt is easier to pinch and spread evenly, while table salt can over-season quickly if measured the same way.
6) How to Make Cast Iron Chicken Thighs
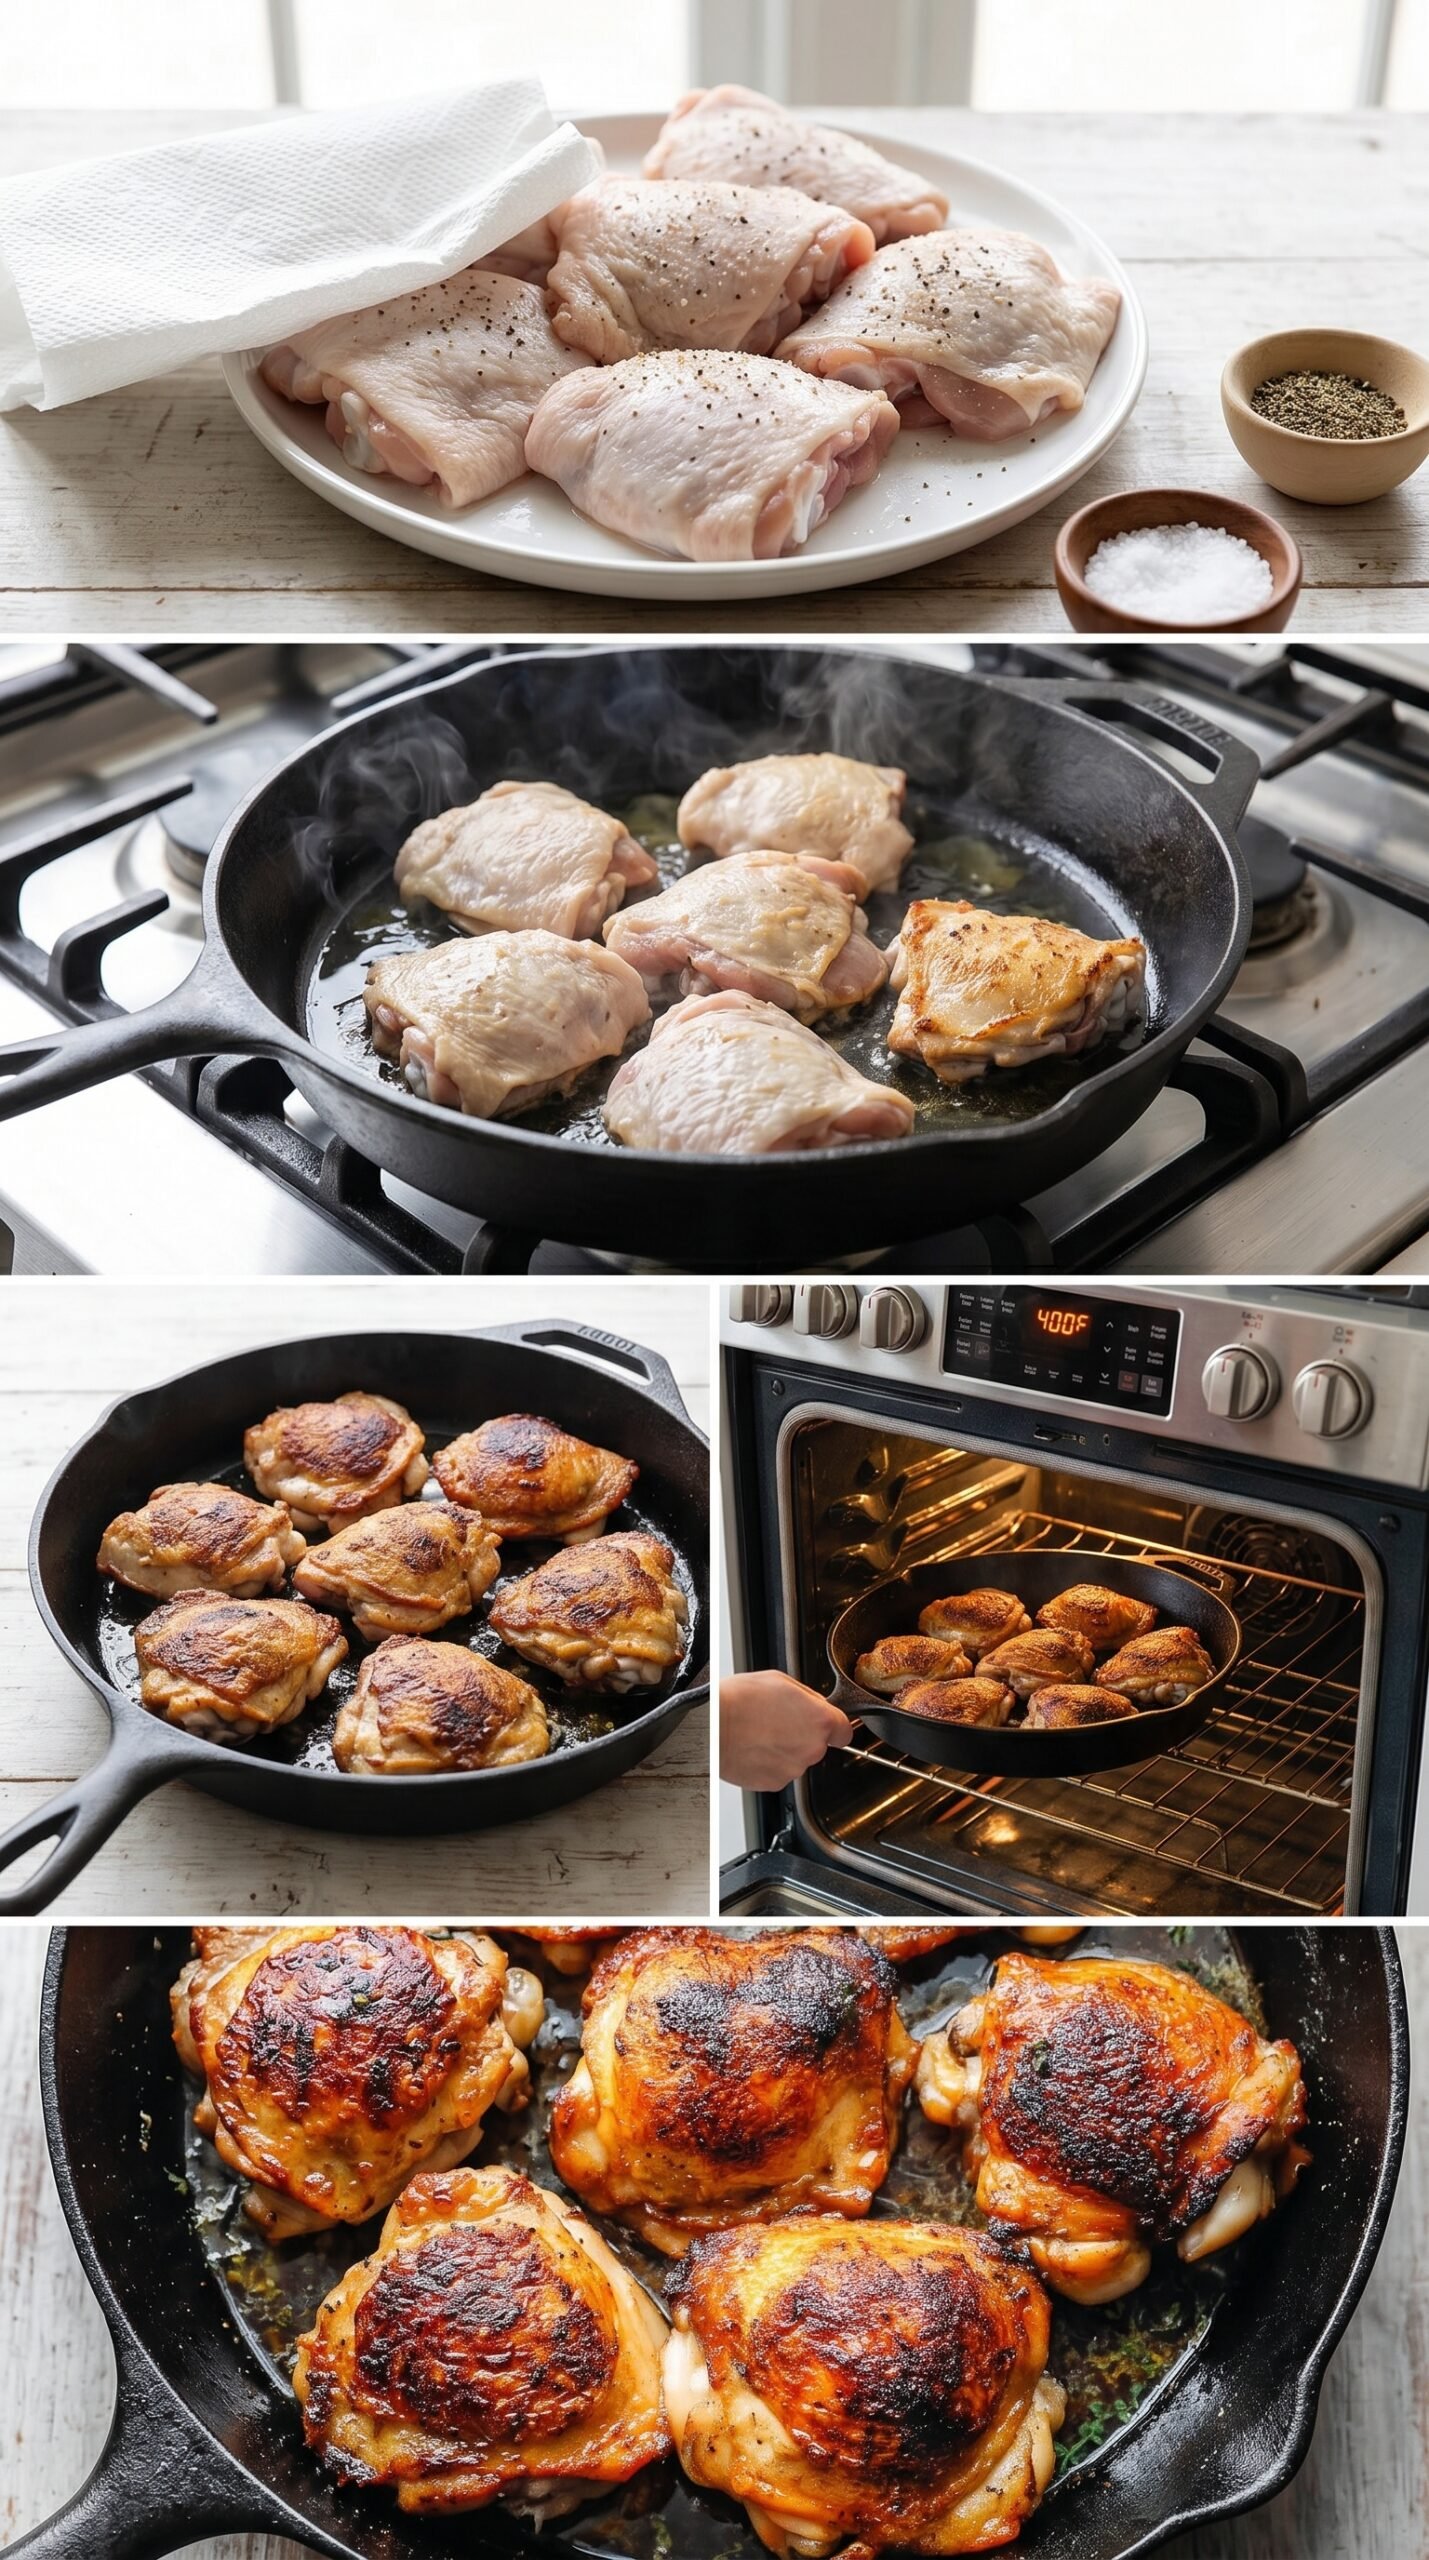
Step 1: Place the chicken thighs on a plate and pat them dry with clean paper towels. This is where crisp skin begins. Season both sides with kosher salt and black pepper, then preheat the oven to 400°F so the skillet can move straight from stovetop to oven.
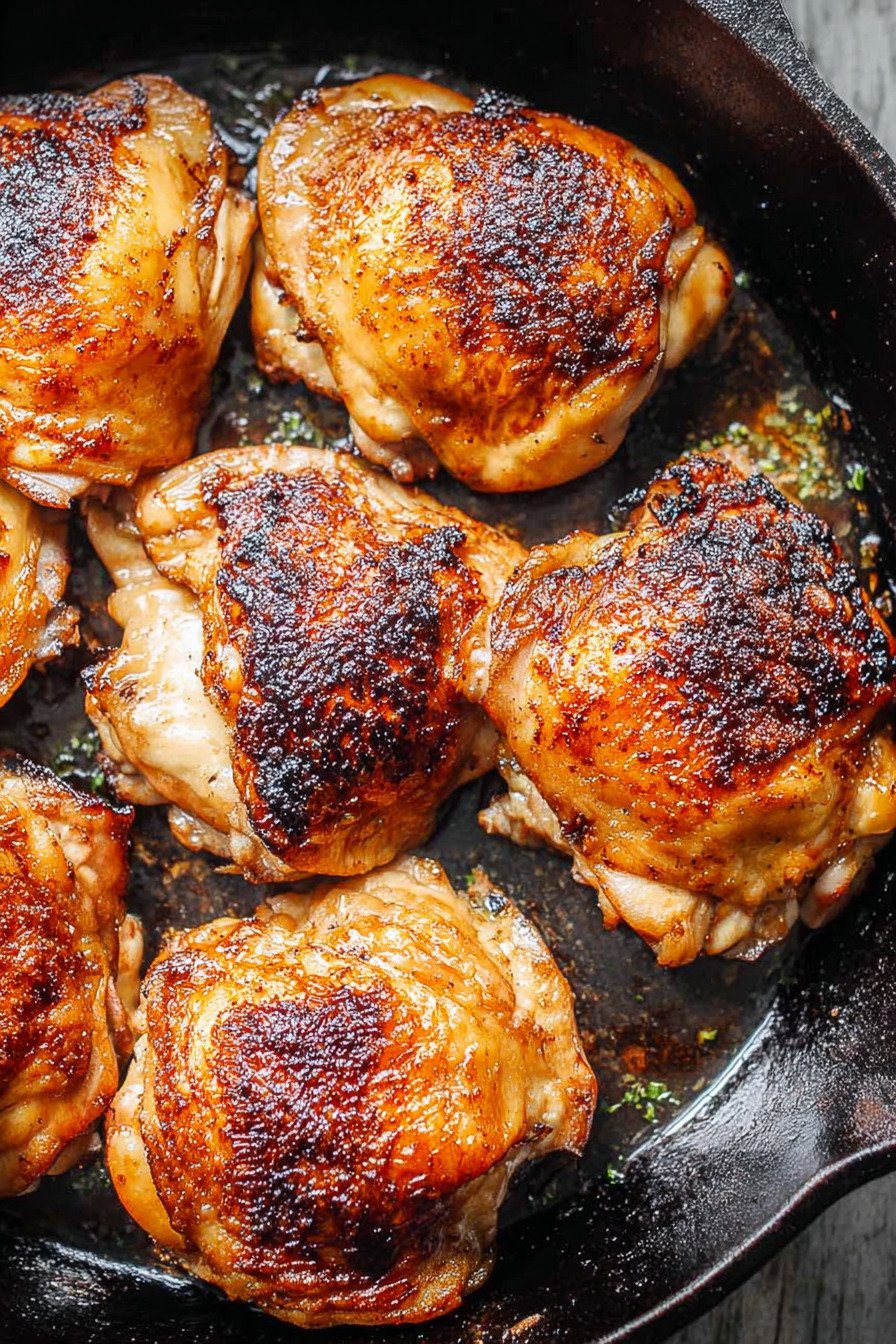
Step 2: Heat a 12-inch cast iron skillet over medium-high heat. Add the oil and tilt the pan so the bottom is lightly coated. The pan is ready when the oil shimmers and a small flick of water sizzles right away.
Step 3: Place the chicken skin-side down in the hot skillet. Listen for that immediate sizzle. Let the thighs sear for 3 to 5 minutes without constant shifting. The skin should turn golden brown and begin to release more easily from the pan.
Step 4: Flip the thighs carefully, then move the uncovered skillet to the middle rack of the oven. Roast for 15 to 20 minutes, depending on thigh size, until the thickest part reaches 165°F.
Step 5: Rest the chicken for 5 to 10 minutes before serving. This final pause keeps the juices from rushing out when you cut into the meat and gives the skin a better chance to stay crisp at the table.
7) Recipe Card: Cast Iron Chicken Thighs
Cast Iron Chicken Thighs with Crispy Skin
Ingredients
- 6 bone-in, skin-on chicken thighs, patted very dry so the skin browns instead of steaming
- 1 tablespoon kosher salt, divided for seasoning both sides evenly
- 1/2 tablespoon ground black pepper, divided for balanced seasoning
- 1/2 tablespoon olive oil, or avocado oil, just enough to lightly coat the skillet
Instructions
- Place the 6 bone-in, skin-on chicken thighs on a plate and pat them thoroughly dry with clean paper towels. Season both sides of each thigh with about 1/4 teaspoon kosher salt and a pinch of black pepper. Preheat the oven to 400°F so it is ready once the skin is seared.
- Set a 12-inch cast iron skillet over medium-high heat and add the olive oil, tilting the pan so the bottom is lightly coated. When the oil shimmers and a tiny flick of water sizzles immediately, place the chicken thighs skin-side down in the skillet. Sear for 3 to 5 minutes without moving them too much, until the skin is deeply browned and releases more easily from the pan.
- Flip the chicken thighs over, then transfer the uncovered skillet to the middle rack of the oven. Roast for 15 to 20 minutes, or until the thickest part of each thigh reaches 165°F on an instant-read thermometer and the juices run clear.
- Remove the skillet from the oven and let the chicken rest for 5 to 10 minutes before serving. Resting helps the juices settle back into the meat so the skin stays crisp and the chicken remains juicy.
8) Tips for Making Cast Iron Chicken Thighs
The first tip is to take drying seriously. A damp thigh can still cook through, but it will not brown the same way. Pat the top, sides, and underside of each piece before seasoning. The second tip is to give the skillet enough time to heat. Cast iron rewards patience; once it is hot, it gives the skin even color and a better sear.
Use only a thin film of oil. Too much oil can make the skin fry unevenly and splatter more than needed. When the chicken is in the pan, avoid pressing it down hard. Light contact is enough; pressing can force out juices and make the skin cook unevenly. For cast iron baked chicken thighs, the stovetop portion builds the crust, and the oven portion finishes the interior, so both steps matter.
If your thighs are different sizes, check the smaller ones early. The thermometer should go into the thickest part without touching the bone. Once the chicken rests, serve it skin-side up so steam from the plate does not soften the crisped surface too quickly.
9) Common Mistakes & Fixes
Problem: The skin turns pale instead of crisp. Cause: The chicken was too wet or the skillet was not fully hot. Fix: Pat the thighs dry thoroughly, preheat the cast iron over medium-high heat, and wait for an immediate sizzle before adding the chicken.
Problem: The skin sticks and tears. Cause: The chicken was flipped before browning developed. Fix: Let the skin sear undisturbed for several minutes. If it resists, give it a little more time instead of forcing it loose.
Problem: The outside looks done but the inside is undercooked. Cause: Bone-in thighs need time for heat to move through the thickest part. Fix: Finish the chicken in the oven and use an instant-read thermometer to confirm 165°F.
Problem: The meat tastes dry. Cause: The chicken may have cooked too long or been sliced immediately after leaving the oven. Fix: Check temperature early and rest the thighs for 5 to 10 minutes before serving.
10) How to Tell Cast Iron Chicken Thighs Are Done
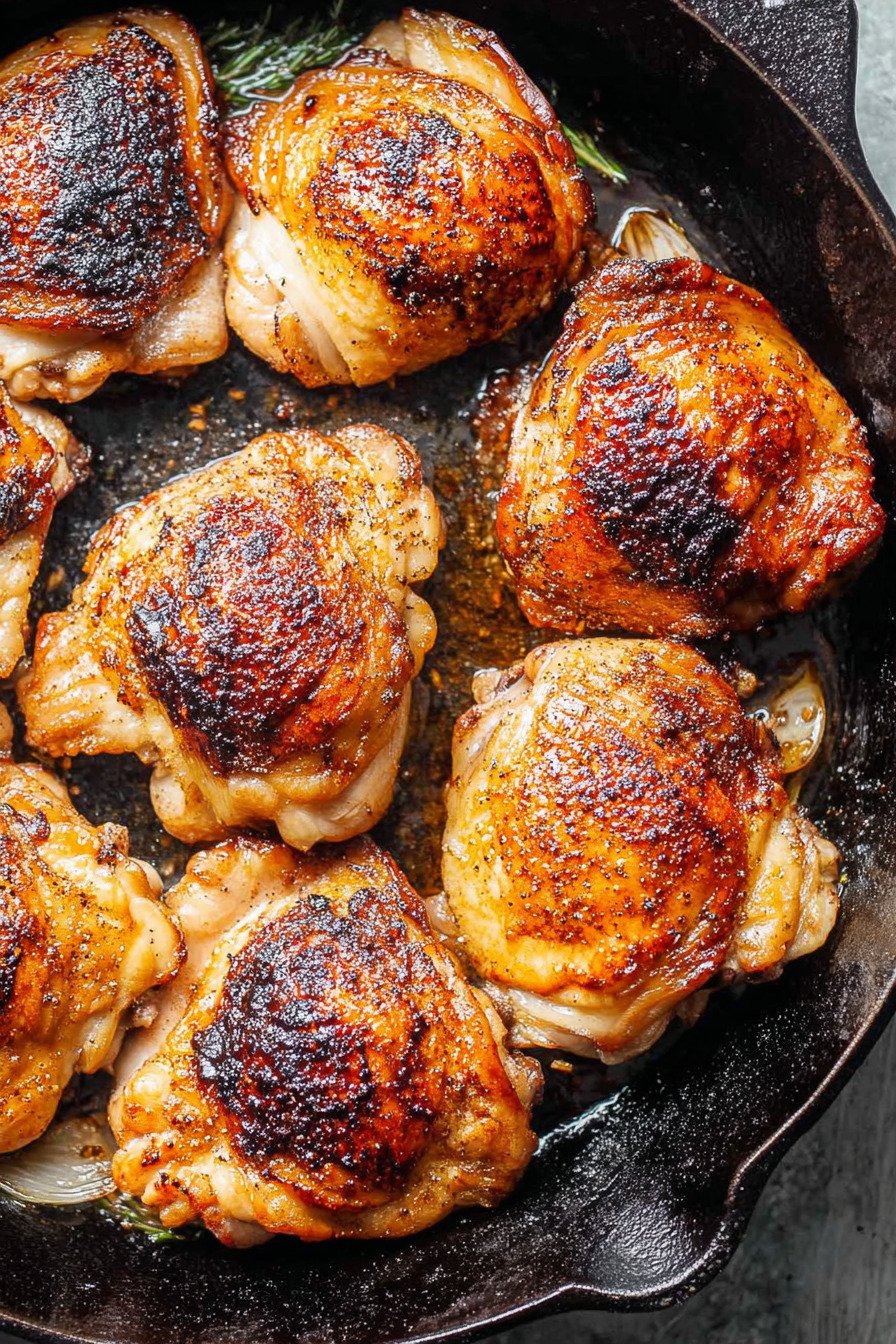
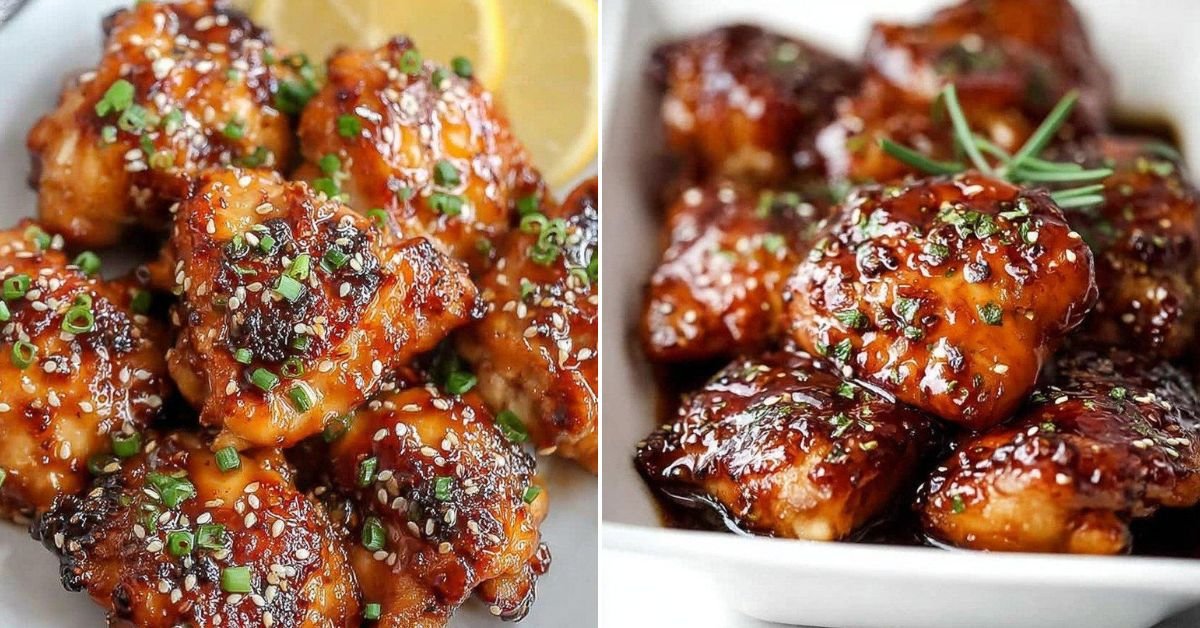
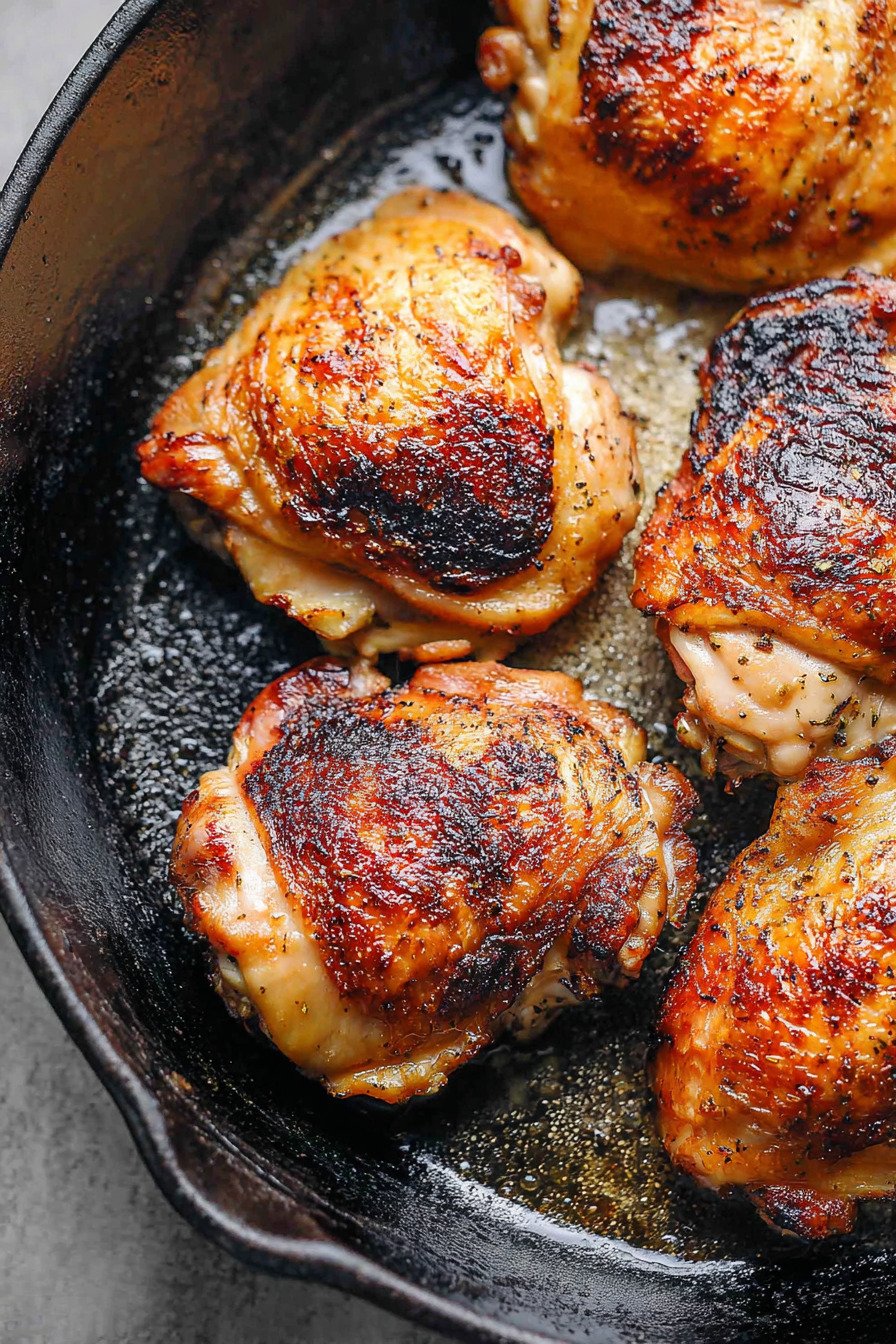
Cast iron chicken thighs are done when the skin is browned, the edges look crisp, and the thickest part of the meat reaches 165°F. The skin should look golden to deep amber, not gray or rubbery. The meat near the bone should be opaque and juicy, not pink or slippery. When you pierce the thickest section, the juices should run clear.
The aroma should be savory and roasted, with a toasted chicken-skin scent from the skillet. A failure sign is skin that looks wet after roasting, which usually means steam softened it. Another warning sign is meat that pulls tight and dry around the bone, which can happen when the chicken is left in the oven too long. A properly cooked thigh should feel tender when cut, with skin that still has a light crispness on top.
11) Professional Secrets Behind Better Cast Iron Chicken Thighs
The biggest professional-style secret is managing moisture before managing heat. A hot skillet cannot crisp wet skin properly, so drying the chicken is not optional if texture matters. Another useful habit is seasoning both sides instead of only the skin. The underside may not be the showy side, but it still affects the final bite.
Another secret is recognizing that cast iron does not need aggressive heat the entire time. Medium-high heat starts the sear, but the oven takes over before the skin burns. This is why chicken thigh recipes cast iron skillet methods often work best when they use both stovetop and oven heat. The skillet gives color; the oven gives control.
Finally, rest the chicken on purpose. Resting is not just a pause while you set the table. It gives the juices time to settle, which makes each bite taste fuller and keeps the meat from drying out on the first cut.
12) Best Dishes or Pairings to Serve With Cast Iron Chicken Thighs
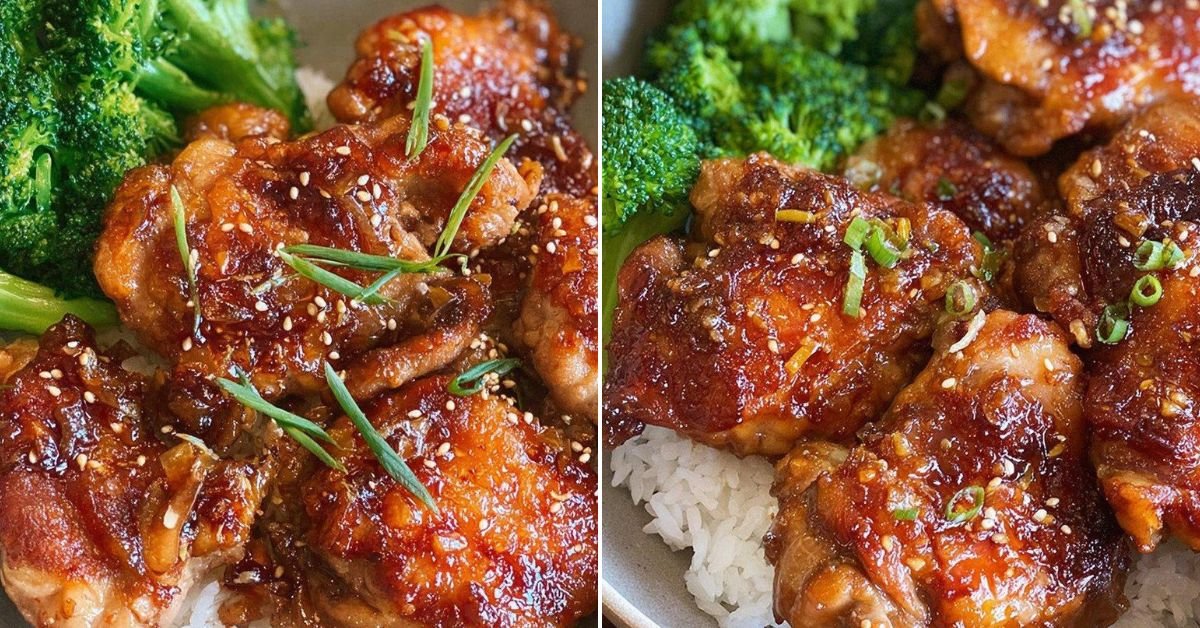
Cast iron chicken thighs pair well with sides that can catch the savory pan flavor without competing with the crisp skin. Roasted potatoes, garlic green beans, simple rice, buttered noodles, or a crisp garden salad all work nicely. For a lighter plate, serve the thighs with steamed vegetables and lemony greens. For a cozier dinner, add mashed potatoes or roasted carrots.
If you want to stretch the meal, slice leftover chicken off the bone and serve it over rice bowls, grain salads, or warm wraps. Keep the skin separate when possible if you want to re-crisp it later. The simple salt-and-pepper seasoning makes the chicken flexible enough for many sauces, from a pan gravy to a bright herb dressing.

13) Making Cast Iron Chicken Thighs Ahead of Time
You can season the chicken a few hours ahead and keep it covered in the refrigerator. For the best texture, leave enough time to pat the skin dry again before cooking because salt can draw moisture to the surface. Do not sear the chicken too far ahead if crisp skin is the main goal; the skin is always best shortly after cooking.
If you need to cook the thighs ahead for meal prep, cool them completely before storing. Reheat them in the oven rather than the microwave when possible. Microwave heat warms the meat quickly but softens the skin, while oven heat gives you a better chance of restoring some crispness.
14) Storing Leftover Cast Iron Chicken Thighs
Store leftover cast iron chicken thighs in an airtight container in the refrigerator for up to 3 days. Let the chicken cool before closing the container so trapped steam does not create extra moisture. For the best reheated texture, place the thighs skin-side up in a 350°F oven until warmed through.
Freezing is possible, but the skin will lose much of its crispness after thawing. If you freeze the chicken, wrap it well and thaw it in the refrigerator before reheating. Leftover meat can be pulled from the bone and used in salads, soups, rice bowls, sandwiches, or quick skillet meals.
15) FAQ (Real Cooking Questions)
Can I use boneless chicken thighs? Yes, but the timing will change. Boneless thighs cook faster, so start checking earlier and do not rely on the same oven time as bone-in thighs.
Why did my chicken skin stick to the cast iron? It may have been flipped too early, or the pan may not have been hot enough. Properly browned skin usually releases more easily from the skillet.
Can I make healthy cast iron chicken thighs? Yes. Use the same method, choose avocado oil if you prefer, and serve the chicken with vegetables, salad, or whole grains. The technique stays the same because crisping and safe doneness still matter.
Do I need to cover the skillet in the oven? No. Leaving it uncovered helps preserve the browned skin. Covering traps steam, which can soften the surface.
What size skillet should I use? A 12-inch cast iron skillet works well for 6 chicken thighs. If the thighs are packed too tightly, they can steam instead of sear, so use a second skillet if needed.
16) Save This Cast Iron Chicken Thighs Recipe
If this cast iron chicken thighs recipe helped you solve pale skin, sticking, or dry meat, save it for your next simple chicken dinner. The key reminder is: dry the skin well, start with a hot skillet, finish in the oven, and let the chicken rest before serving.
17) Conclusion
Once you understand the sequence, cast iron chicken thighs stop feeling unpredictable. Dry skin creates the chance for browning, the hot skillet builds the crust, the oven finishes the meat, and the rest keeps the juices where they belong. That is the difference between chicken that merely cooks and chicken that arrives at the table with crisp skin, tender meat, and real confidence behind it.
18) Nutrition
Serving Size 1 portion Calories 315 Sugar 0 g Sodium 950 mg Fat 22 g Saturated Fat 6 g Carbohydrates 0 g Fiber 0 g Protein 28 g Cholesterol 145 mg


Leave a Comment