
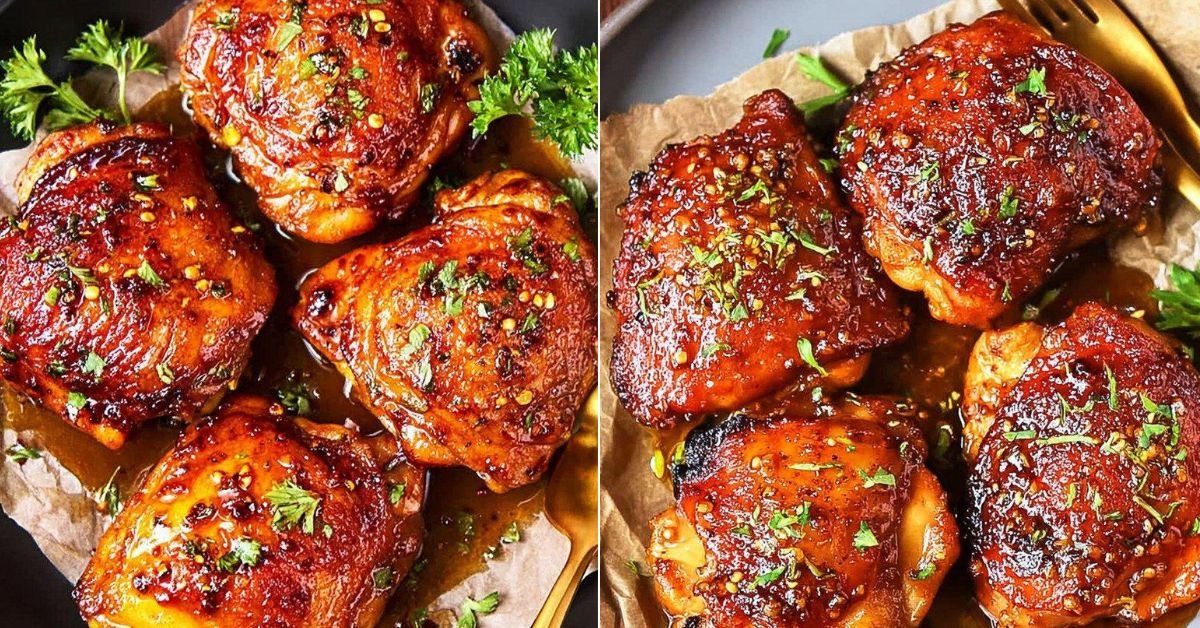
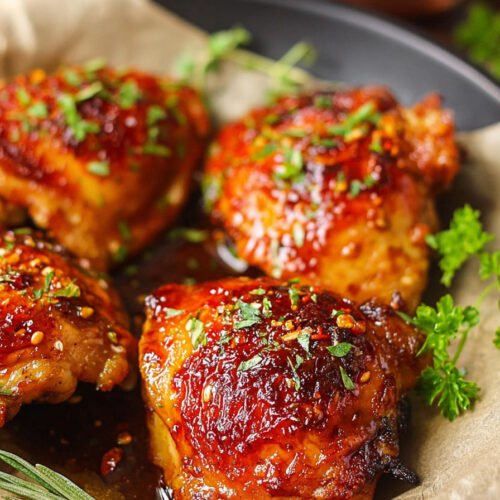
1) The Skillet Secret Behind Hot Honey Chicken Thighs
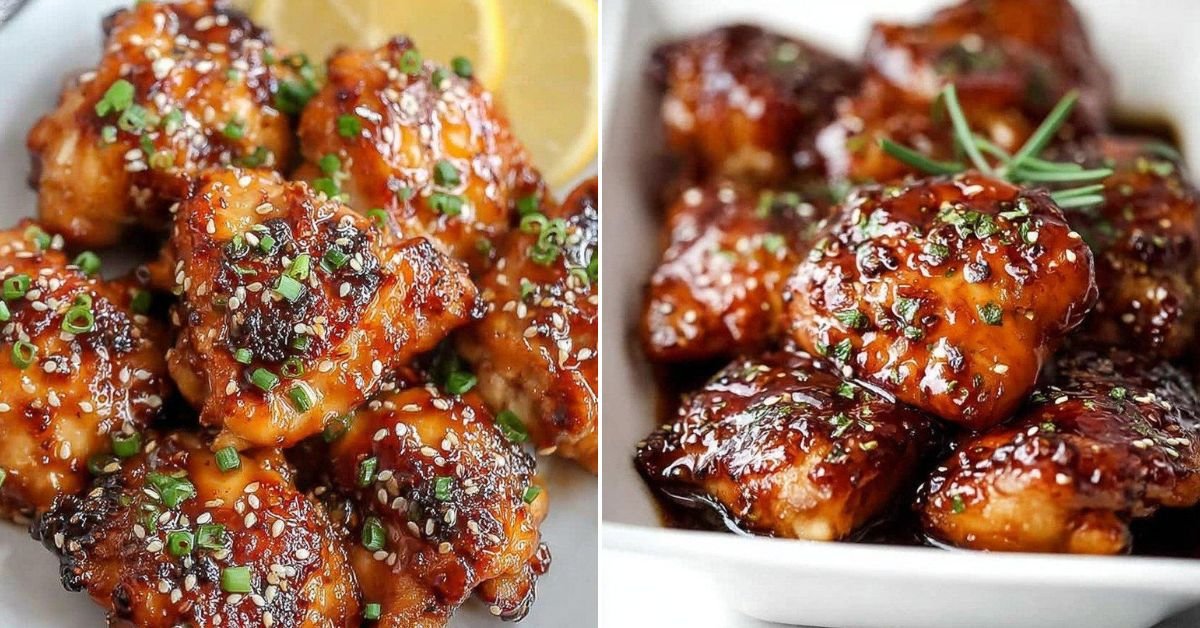
Dry chicken with a burnt glaze is the dinner problem that made me test this recipe more than once. I’m Camila, and my first batch looked gorgeous on top but tasted flat underneath because I rushed the browning and added the honey too early. After adjusting the skillet heat, sauce timing, and broiler finish, I discovered that hot honey chicken thighs need crisp skin before the glaze ever touches the pan. That small change gives you juicy meat, sticky edges, and the sweet heat I want for a calm Sunday dinner that still feels a little exciting.
Table of Contents
- 1) The Skillet Secret Behind Hot Honey Chicken Thighs
- 2) Key Takeaways
- 3) Easy Hot Honey Chicken Thighs Recipe
- 4) Why Most Hot Honey Chicken Thighs Recipes Fail
- 5) Ingredients for Hot Honey Chicken Thighs
- 6) How to Make Hot Honey Chicken Thighs
- 7) Recipe Card: Hot Honey Chicken Thighs
- 8) Tips for Making Hot Honey Chicken Thighs
- 9) Common Mistakes & Fixes
- 10) How to Tell Hot Honey Chicken Thighs Are Done
- 11) Professional Secrets Behind Better Hot Honey Chicken Thighs
- 12) Best Dishes or Pairings to Serve With Hot Honey Chicken Thighs
- 13) Making Hot Honey Chicken Thighs Ahead of Time
- 14) Storing Leftover Hot Honey Chicken Thighs
- 15) FAQ (Real Cooking Questions)
- 16) Save This Hot Honey Chicken Thighs Recipe
- 17) Conclusion
- 18) Nutrition
2) Key Takeaways
- Dry skin first: Moisture is the enemy of browning. Patting the chicken very dry helps the skin sear instead of steam.
- Sear before glazing: Honey can darken quickly, so the chicken needs color before the hot honey butter sauce goes into the skillet.
- Use the oven for even doneness: The stovetop builds flavor, while the hot oven finishes the thighs without drying the meat.
- Broil briefly, not blindly: The broiler creates sticky caramelized edges, but the sauce can move from glossy to scorched fast.
3) Easy Hot Honey Chicken Thighs Recipe
These hot honey chicken thighs are built around a simple professional rhythm: season, sear, glaze, roast, baste, and broil. That order matters because chicken skin needs direct contact with a hot skillet before the sauce is added. If the honey butter goes in too soon, the sugars can darken before the chicken has enough time to cook through.
The flavor goal is sweet heat with savory depth, not just spicy sweetness. Salt, cracked black pepper, onion powder, garlic powder, and paprika create a seasoned base on the chicken itself. Then the hot honey butter adds gloss, heat, garlic aroma, and caramelized edges. This method works especially well for bone-in chicken thighs because the bone helps the meat stay juicy while the skin gets enough time to crisp.
The oven finish is the safety net. Instead of trying to fully cook the chicken on the stovetop, where the glaze could burn and the skin could over-darken, the skillet moves into a 450°F oven. That high heat helps the sauce bubble around the chicken while the inside reaches a safe, juicy doneness.
4) Why Most Hot Honey Chicken Thighs Recipes Fail
Most hot honey chicken thighs fail because the glaze gets treated like a marinade instead of a finishing sauce. Honey contains sugars that brown quickly, especially under high heat. If it sits in the skillet from the start, it may scorch before the chicken skin has crisped or the meat has cooked through. Searing the seasoned chicken first gives you browned skin and a stronger savory foundation.
Another common issue is wet chicken skin. Even a thin layer of surface moisture blocks browning because the skillet has to evaporate water before it can crisp the skin. That is why drying the chicken with paper towels is not a throwaway step. It is the difference between golden skin and pale, slippery skin.
Flat flavor usually comes from seasoning only the sauce. The hot honey butter is bold, but it cannot fully season thick chicken thighs by itself. Salt, pepper, garlic powder, onion powder, and paprika need to touch the meat before cooking so every bite has flavor under the glaze.
Dry meat happens when cooks chase darker skin for too long on the stovetop. Chicken thighs are forgiving, but they still need a doneness target. Moving the skillet to the oven after searing helps the meat cook more evenly, and checking the thickest part for 165°F prevents guessing.
The last failure point is the broiler. A quick broil can make sweet and spicy baked chicken thighs look glossy and caramelized, but walking away is risky. Watch for bubbling sauce, browned edges, and a sticky surface. If the top smells sharp or bitter, it has gone too far.
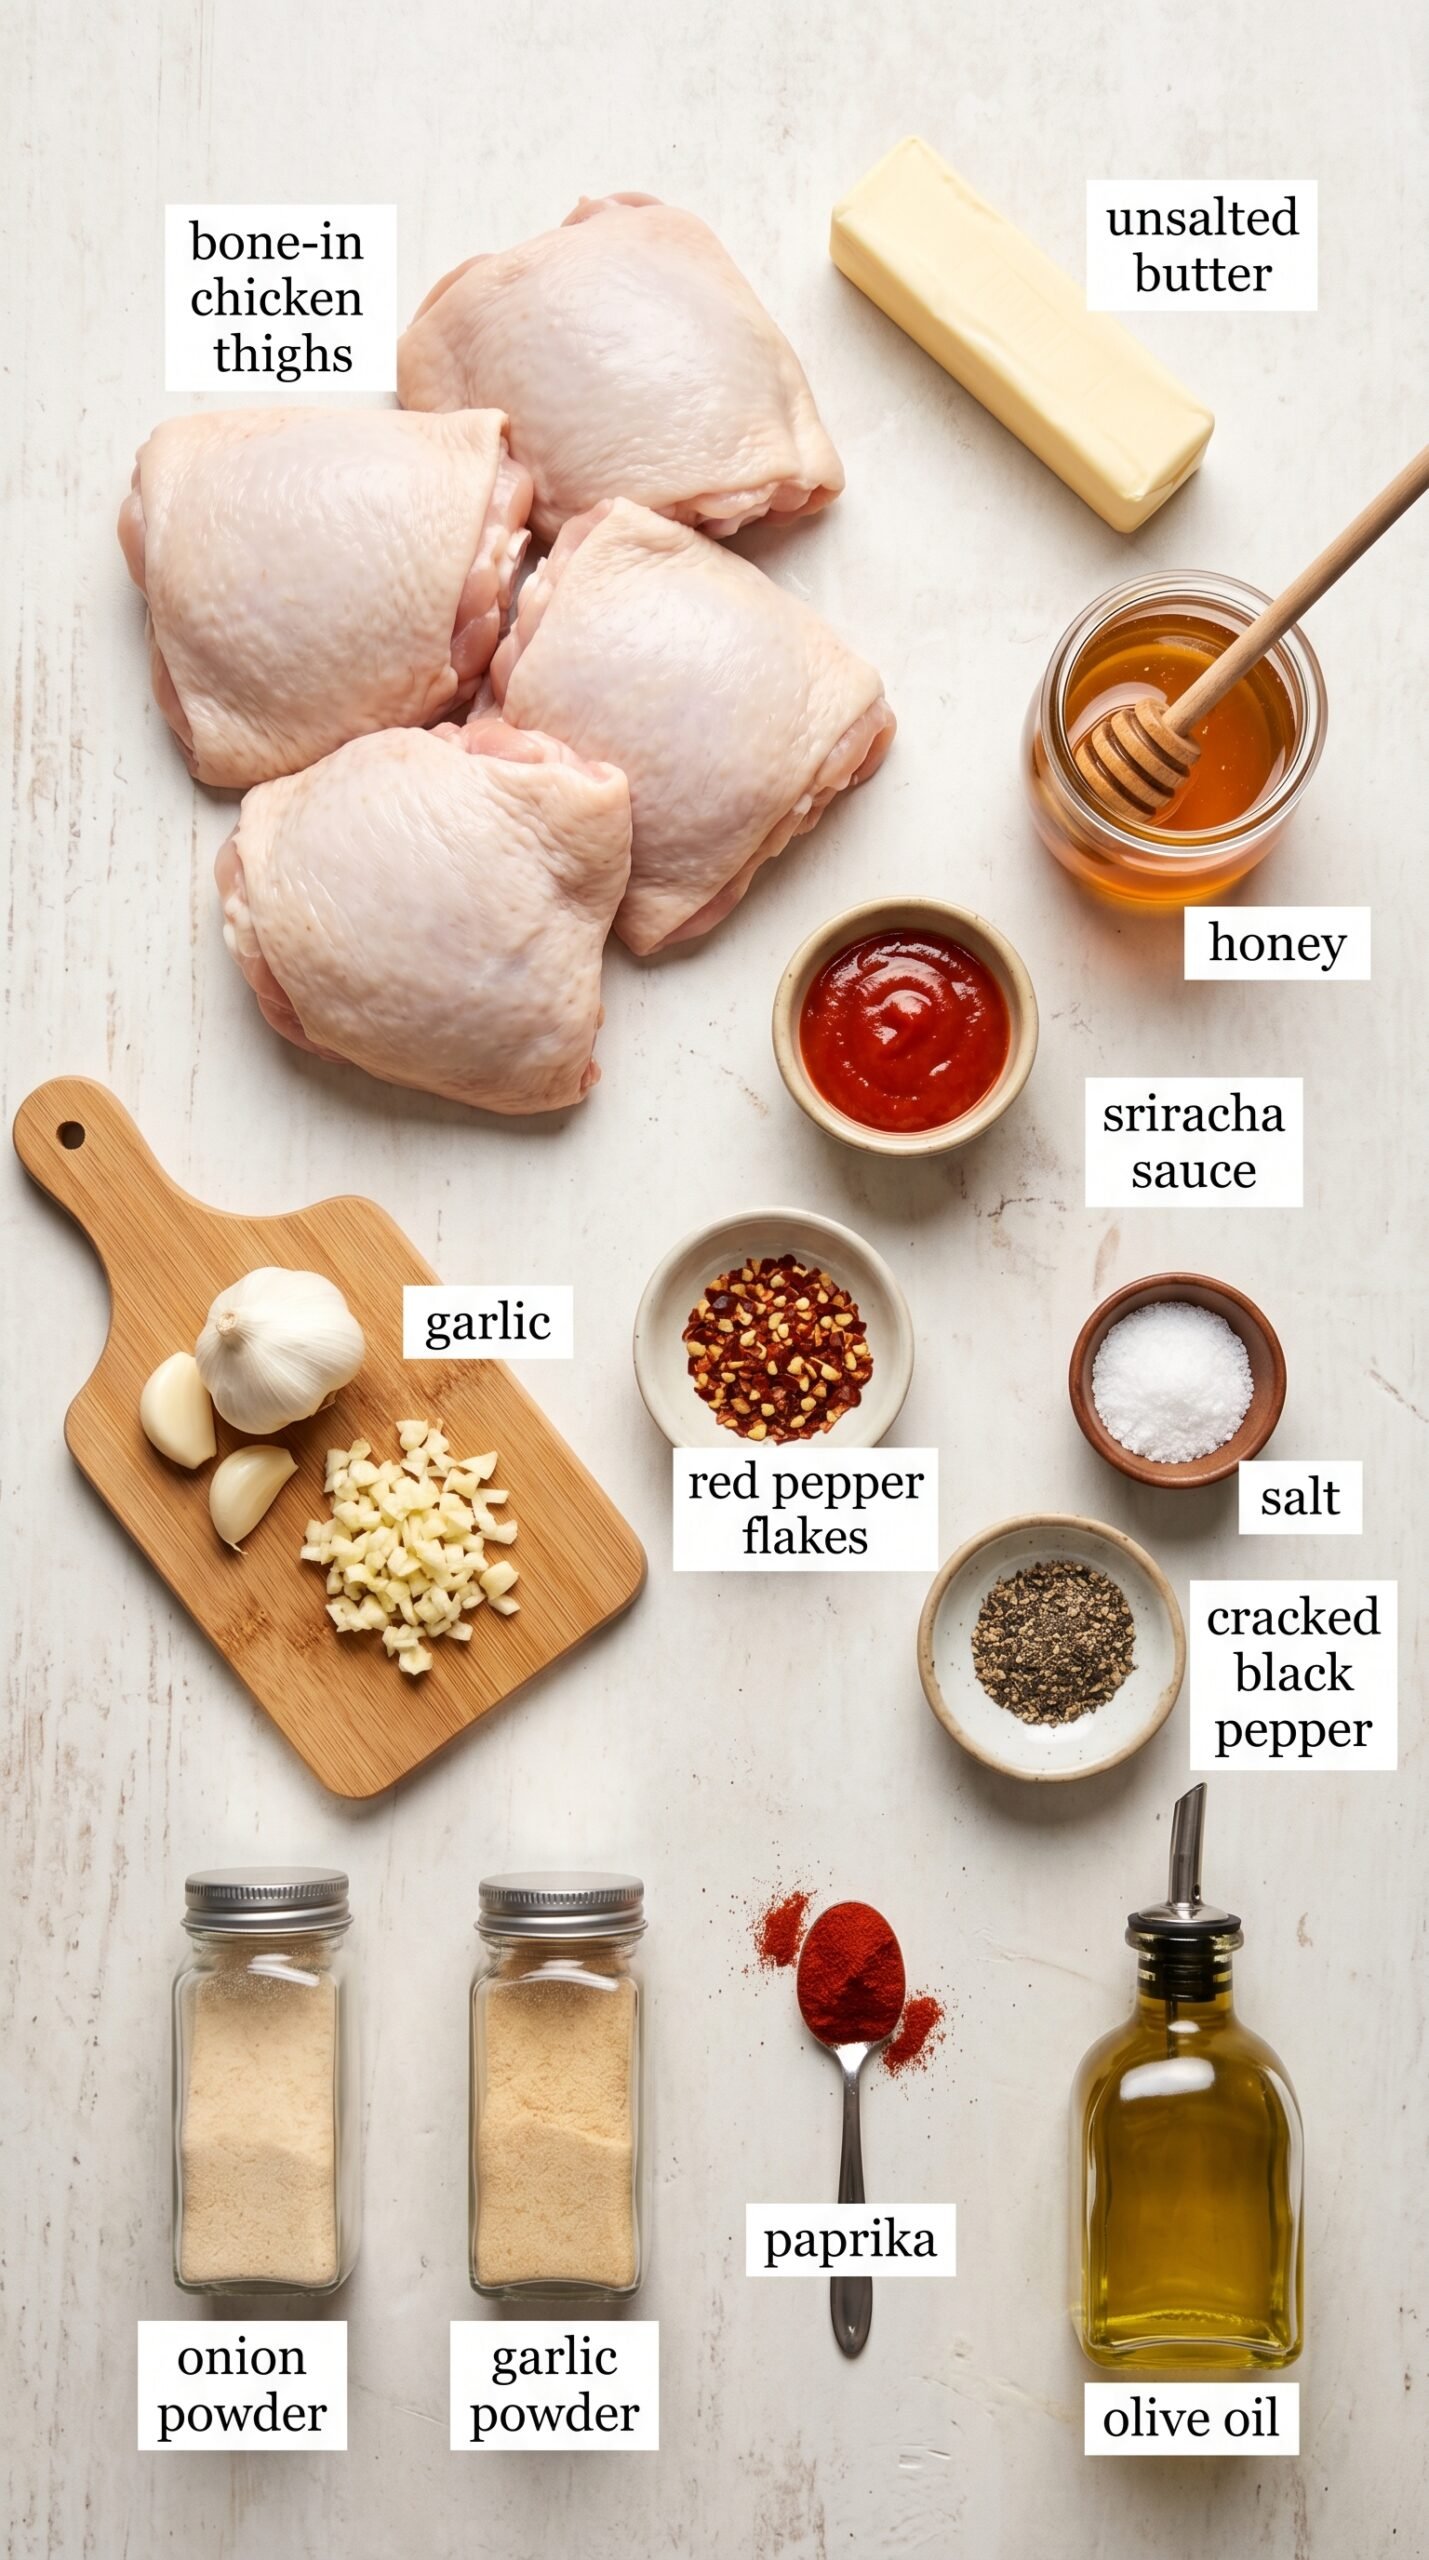
5) Ingredients for Hot Honey Chicken Thighs
Unsalted butter: Butter gives the hot honey sauce body and richness. Use it when making the glaze so the honey and sriracha melt into a smooth sauce. If salted butter is used, reduce the added salt slightly to avoid an overly salty finish.
Honey: Honey creates the sticky glaze and balances the heat. It should be added to the butter sauce, not poured onto the chicken too early. Replacing it with a thinner sweetener can make the sauce runnier and less caramelized.
Sriracha sauce: Sriracha brings heat, tang, and gentle garlic-chile flavor. It works well because it blends smoothly into butter and honey. A very thin hot sauce can make the glaze sharper and less glossy.
Garlic: Minced garlic adds savory aroma to the hot honey butter. Cook it briefly in the sauce until fragrant, but do not let it brown hard or it can taste bitter.
Red pepper flakes: Red pepper flakes give the sauce a warmer, lingering spice. Add them with the sauce ingredients so they bloom slightly in the butter.
Salt: Salt is used in both the sauce and the chicken seasoning because each layer needs balance. Without it, the glaze can taste sweet but not full.
Bone-in chicken thighs: Bone-in thighs stay juicy during searing and oven roasting. They are ideal for this method because the skin can crisp while the meat remains tender. Boneless thighs cook faster, so they need more careful timing.
Cracked black pepper: Black pepper adds a mild bite that keeps the sweet glaze from tasting one-dimensional. It is best added directly to the chicken before searing.
Onion powder: Onion powder adds savory roundness without adding moisture. Fresh onion would change the texture in the skillet, but powder seasons the surface evenly.
Garlic powder: Garlic powder seasons the chicken skin and meat more evenly than fresh garlic alone. It supports the minced garlic in the sauce without risking burnt garlic on the skin.
Paprika: Paprika helps deepen the color of the chicken and adds gentle warmth. It is especially useful when you want a browned look before the glaze goes on.
Extra-virgin olive oil: Olive oil helps the skin make even contact with the hot skillet. Use just enough to coat the pan; too much oil can dilute the pan sauce.
- Bone-in thighs vs boneless thighs: Bone-in thighs give you more time to build crisp skin and still keep the meat juicy. Boneless thighs are useful for a faster version, but they can overcook sooner.
- Honey glaze vs early marinade: A hot honey chicken marinade can add flavor, but honey-heavy mixtures can burn during searing. For this recipe, the glaze works best after the chicken has browned.
- Warm sauce vs cold sauce: A warm butter sauce pours more evenly and coats the chicken better. A cold or separated sauce may hit the pan unevenly and create patchy caramelization.
- Broiled finish vs long roasting: Broiling at the end gives color quickly. Long roasting after the sauce is added can make the honey taste too dark before the chicken looks appetizing.
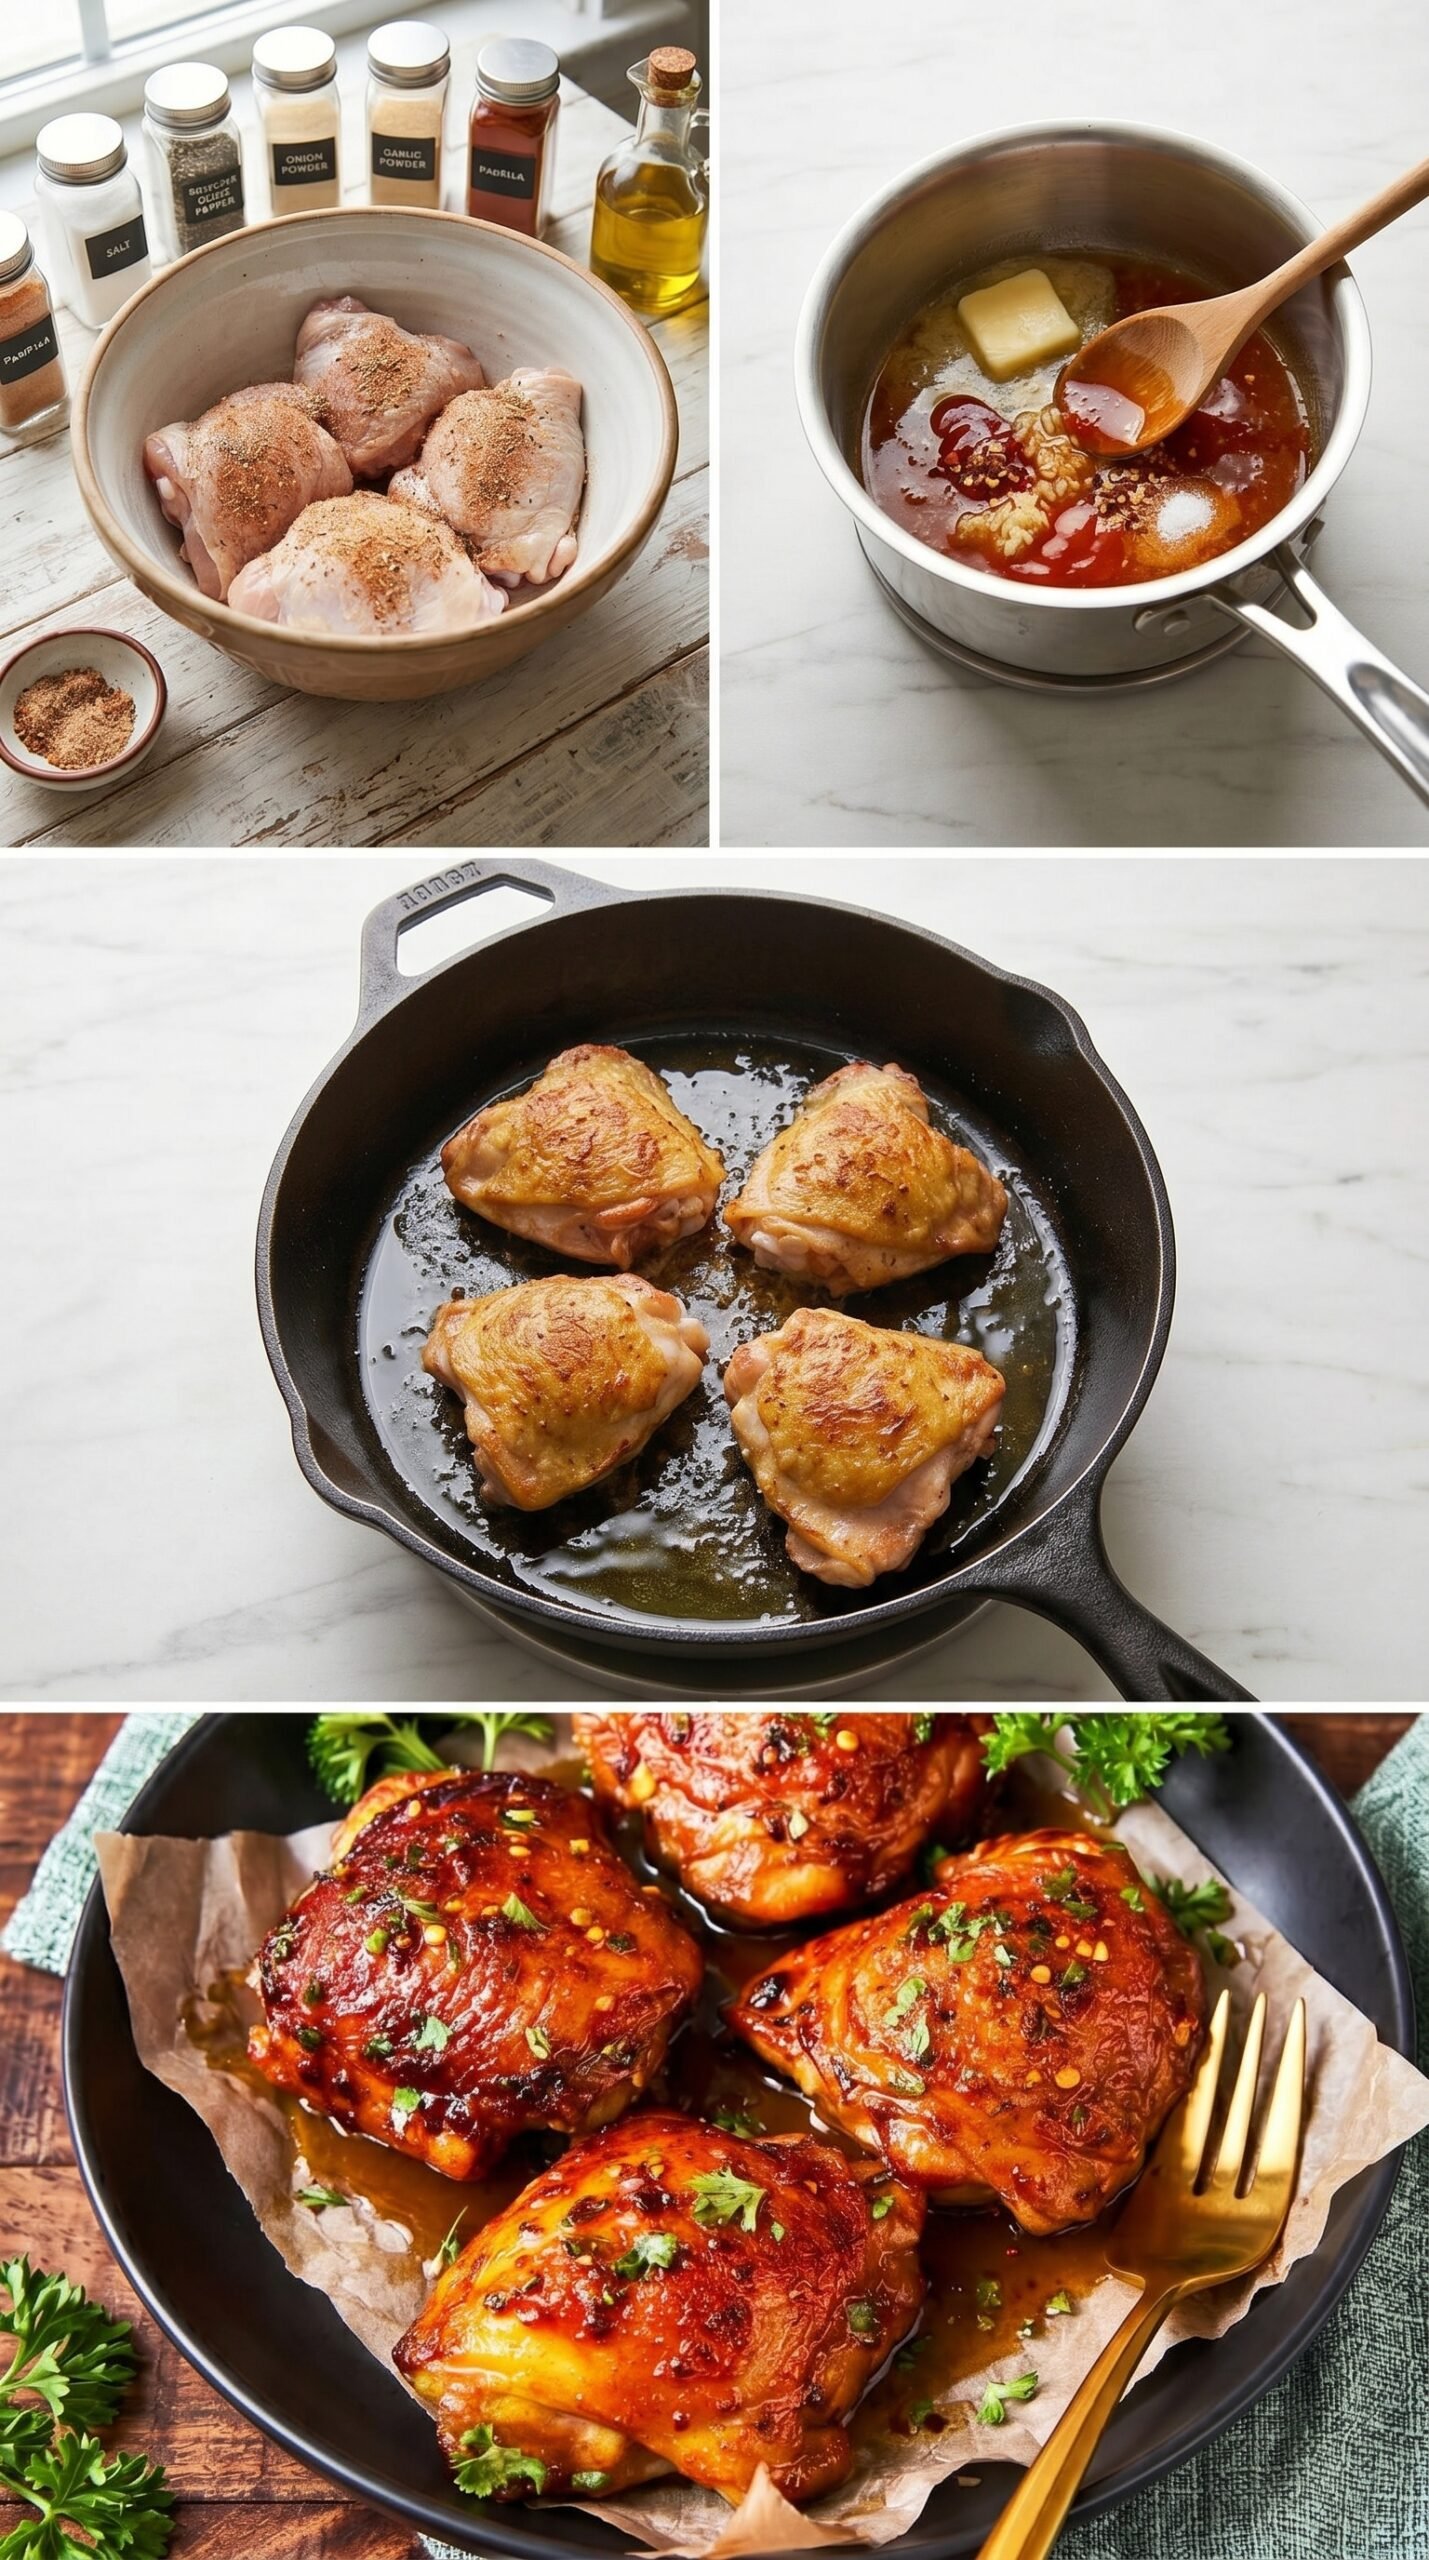
6) How to Make Hot Honey Chicken Thighs
Step 1: Preheat the oven to 450°F so the skillet can move into strong, even heat after searing. Starting with a fully heated oven helps the chicken finish quickly and keeps the glaze from sitting too long in the pan.
Step 2: Dry the chicken thighs very well with paper towels. Season them with salt, cracked black pepper, garlic powder, onion powder, and paprika. The skin should look evenly coated, not clumpy or wet. If the spices turn pasty, the chicken likely needed more drying.
Step 3: Make the hot honey butter by melting butter, then stirring in honey, sriracha, minced garlic, salt, and red pepper flakes. Lower the heat and cook briefly until the garlic smells fragrant and the sauce looks smooth. Do not boil it aggressively.
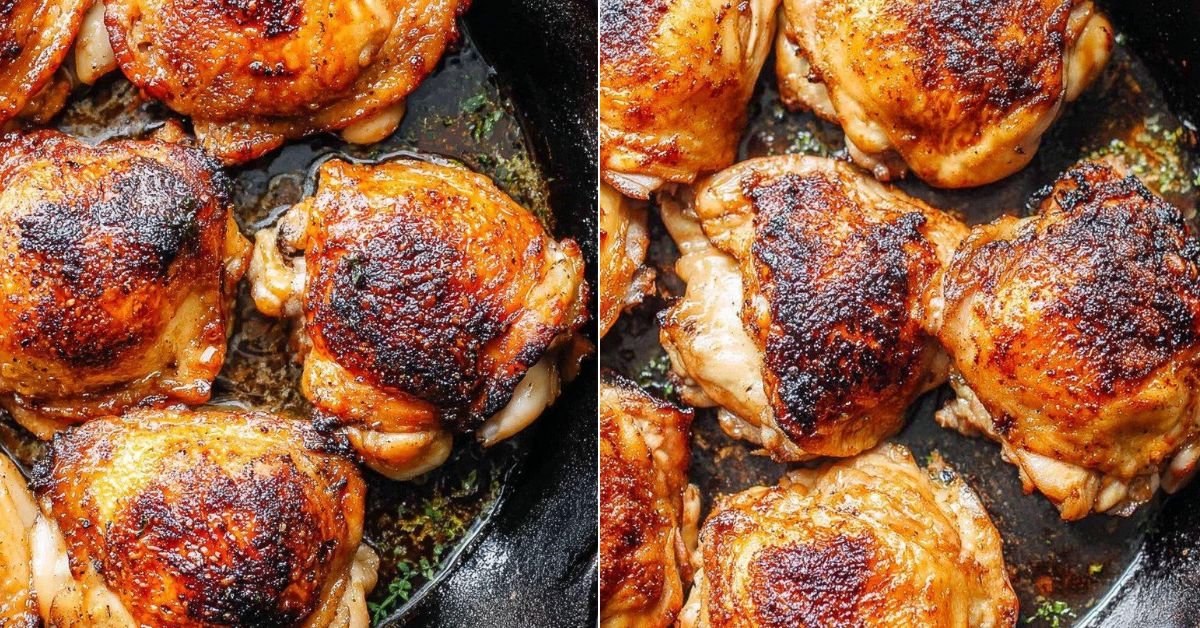
Step 4: Heat olive oil in an oven-safe skillet over medium-high heat. Add the thighs skin side down and let them cook until browned and crisp. Resist the urge to move them constantly; skin releases more cleanly once it has formed a crust.
Step 5: Flip the chicken and brown the other side, then pour the hot honey butter sauce over the thighs. Transfer the skillet to the oven and cook until the meat reaches 165°F in the thickest part. Spoon sauce over the chicken near the end, broil briefly, and stop when the outside looks glossy, browned, and caramelized.
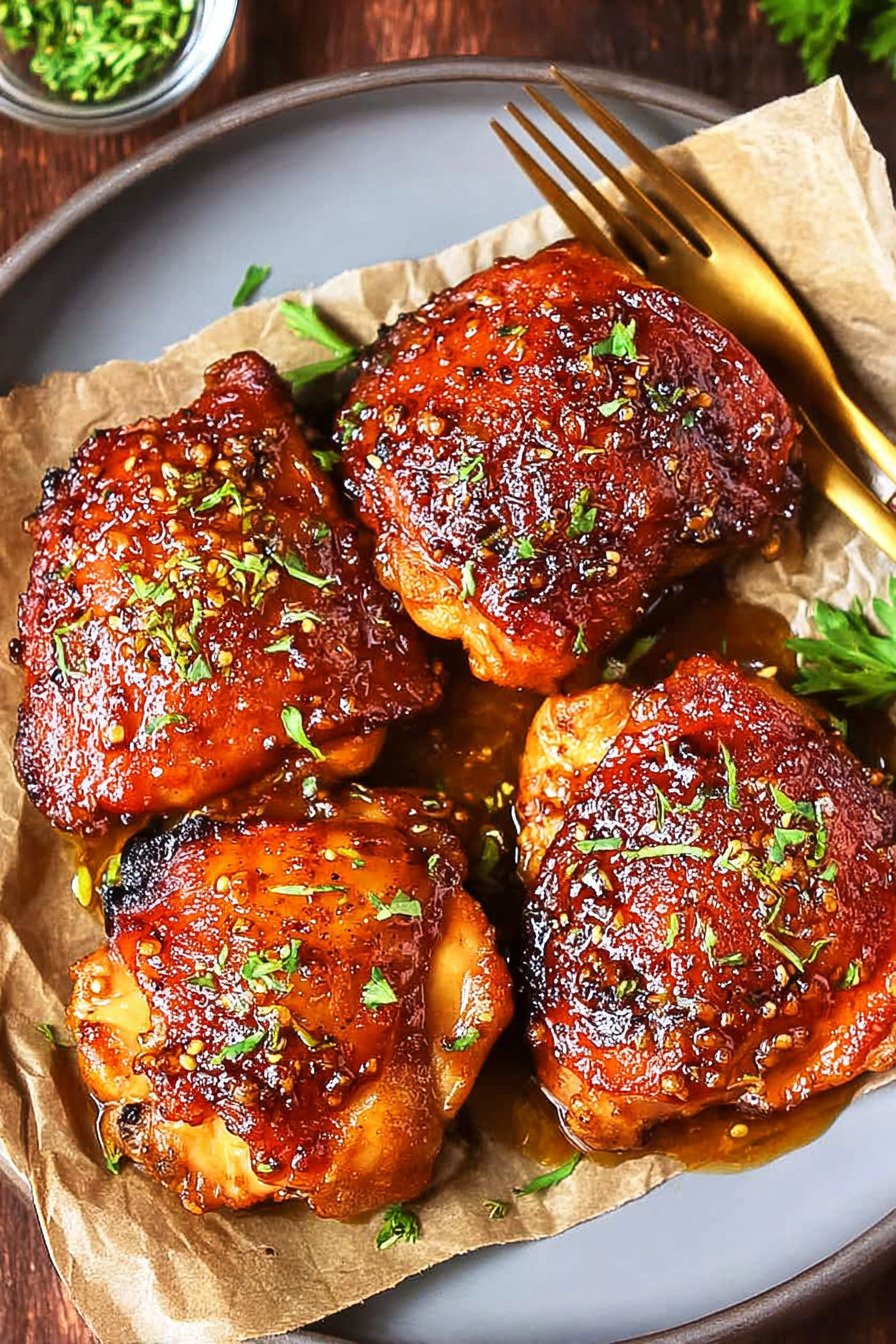
7) Recipe Card: Hot Honey Chicken Thighs
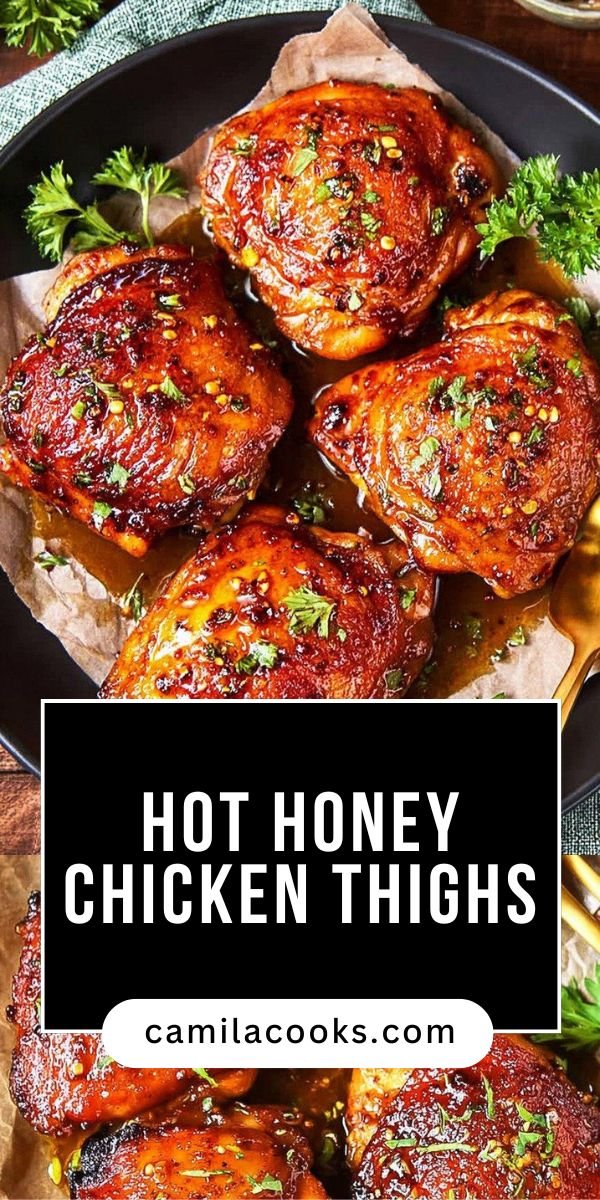
Hot Honey Chicken Thighs with Crispy Skin and Sticky Butter Glaze
Ingredients
Hot Honey Butter
- 4 tablespoons unsalted butter, used as the rich base for the glossy glaze
- ¼ cup honey, for sweetness and sticky caramelization
- 2 tablespoons sriracha sauce, for balanced heat and tang
- 2 cloves garlic, minced finely so it melts into the sauce
- ½ teaspoon red pepper flakes, for extra warm spice
- ½ teaspoon salt, to sharpen the sweet-spicy flavor
Chicken Thighs
- 4 bone-in chicken thighs, about 2.5 pounds, patted very dry for better browning
- ½ teaspoon salt, for seasoning the chicken directly
- ½ teaspoon cracked black pepper, for mild bite
- 1 teaspoon onion powder, for savory depth
- 1 teaspoon garlic powder, for even garlic flavor on the skin
- 1 teaspoon paprika, for color and gentle smokiness
- 1 tablespoon olive oil, extra virgin, for searing the chicken
Instructions
- Preheat the oven to 450°F or 232°C so it is fully hot before the chicken goes in. A high oven temperature helps the sauce bubble and the skin finish crisp instead of turning soft.
- Pat the chicken thighs very dry with paper towels, then place them in a large mixing bowl. Season with salt, cracked black pepper, garlic powder, onion powder, and paprika, turning the thighs until the seasoning coats the skin and underside evenly. Set aside while you make the sauce.
- Melt the butter in a small saucepan over medium-high heat. Add the honey, sriracha, minced garlic, salt, and red pepper flakes, then stir until smooth. Reduce the heat to medium-low and cook for 2 to 3 minutes, stirring often, just until the garlic smells fragrant and the sauce looks glossy. Remove from the heat.
- Heat the olive oil in a medium oven-proof skillet over medium-high heat. Add the chicken thighs skin side down and sear for 7 to 10 minutes, without moving them too much, until the skin is deeply browned and crisp. Flip the thighs and cook the second side for another 7 to 10 minutes.
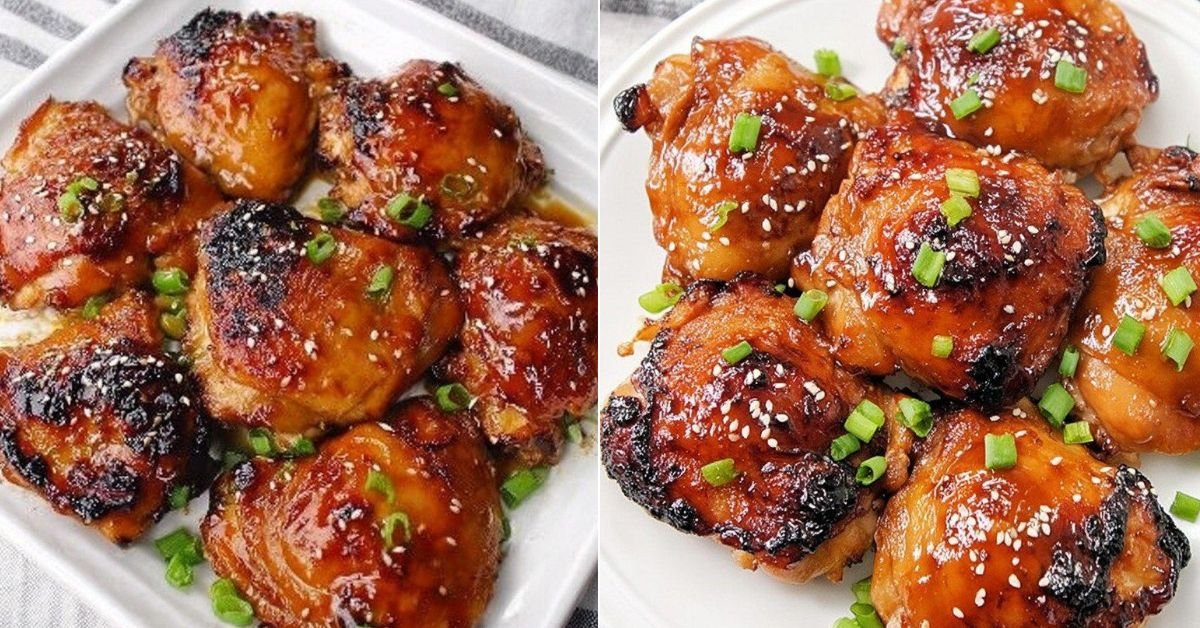
- Pour the hot honey butter sauce over the chicken thighs, making sure the sauce reaches the bottom of the skillet. Transfer the skillet to the preheated oven and bake for 10 to 12 minutes, or until the chicken is cooked through and reaches 165°F in the thickest part without touching the bone.
- During the last few minutes, carefully spoon some of the skillet sauce over the chicken. Turn on the broiler and broil for 2 to 3 minutes, watching closely, until the exterior is browned, sticky, and caramelized. Rest briefly, garnish with fresh chopped parsley if desired, and serve with extra pan sauce.
8) Tips for Making Hot Honey Chicken Thighs
The biggest texture trick is giving the skin enough uninterrupted contact with the skillet. When chicken first hits the pan, it may stick. That does not always mean something is wrong. As the fat renders and the surface browns, the skin usually releases more easily. If you force it too early, you can tear the skin and lose the crisp layer that holds the glaze beautifully.
Use medium-high heat, not the highest heat your stove can produce. Very high heat can burn the paprika and darken the skin before enough fat renders. You want steady sizzling, visible browning, and rendered chicken fat collecting in the skillet. If the pan smokes heavily, lower the heat slightly.
The sauce should be glossy and pourable. If it looks separated, whisk it briefly before pouring it over the chicken. If it thickens too much while sitting, warm it gently for a few seconds. A smooth sauce coats the chicken more evenly and gives hot honey garlic chicken thighs their sticky finish.
For the broiler finish, place the skillet where you can monitor it closely. The goal is caramelization, not blackened sugar. Pull the chicken when the glaze bubbles, the edges darken slightly, and the skin looks lacquered. A little char can taste good, but a bitter burnt smell means the honey has gone too far.
9) Common Mistakes & Fixes
Problem: The skin turns soft instead of crisp. Cause: The chicken was too wet, the pan was not hot enough, or the thighs were moved too often. Fix: Pat the chicken dry thoroughly, preheat the skillet, and let the skin sear undisturbed until it browns.
Problem: The glaze tastes burnt. Cause: Honey was exposed to high heat for too long, especially under the broiler. Fix: Add the hot honey butter after searing, then broil only for 2 to 3 minutes while watching closely.
Problem: The chicken tastes sweet but under-seasoned. Cause: The seasoning stayed mostly in the sauce instead of on the chicken. Fix: Season the thighs directly before cooking so the meat has savory flavor beneath the glaze.
Problem: The chicken looks done but is still undercooked near the bone. Cause: Bone-in thighs can brown before the thickest part reaches a safe temperature. Fix: Use an instant-read thermometer and check for 165°F without touching the bone.
Problem: The sauce becomes thin and watery. Cause: Excess moisture from the chicken diluted the glaze. Fix: Dry the thighs well and avoid crowding the skillet so moisture can evaporate during searing.
10) How to Tell Hot Honey Chicken Thighs Are Done
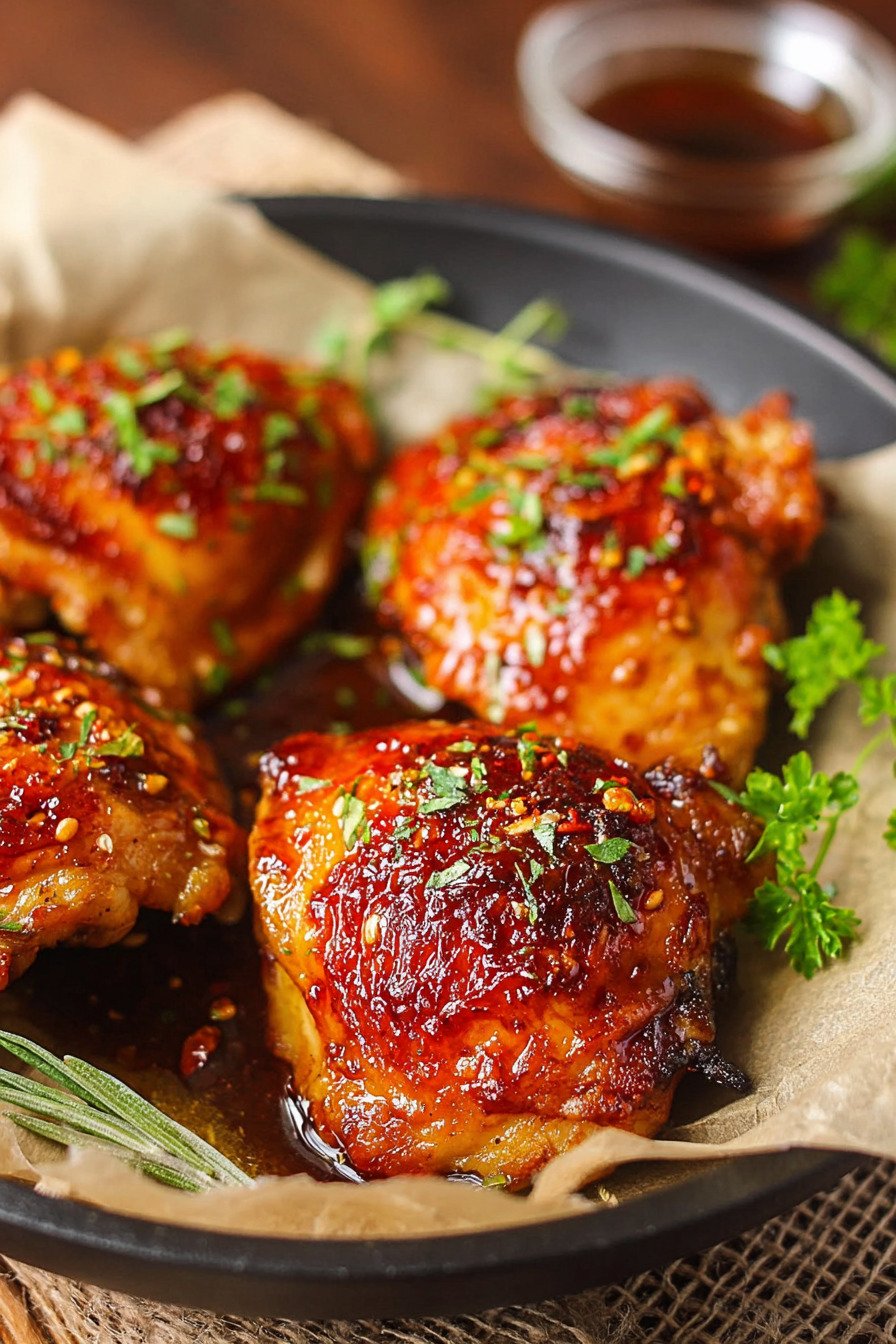
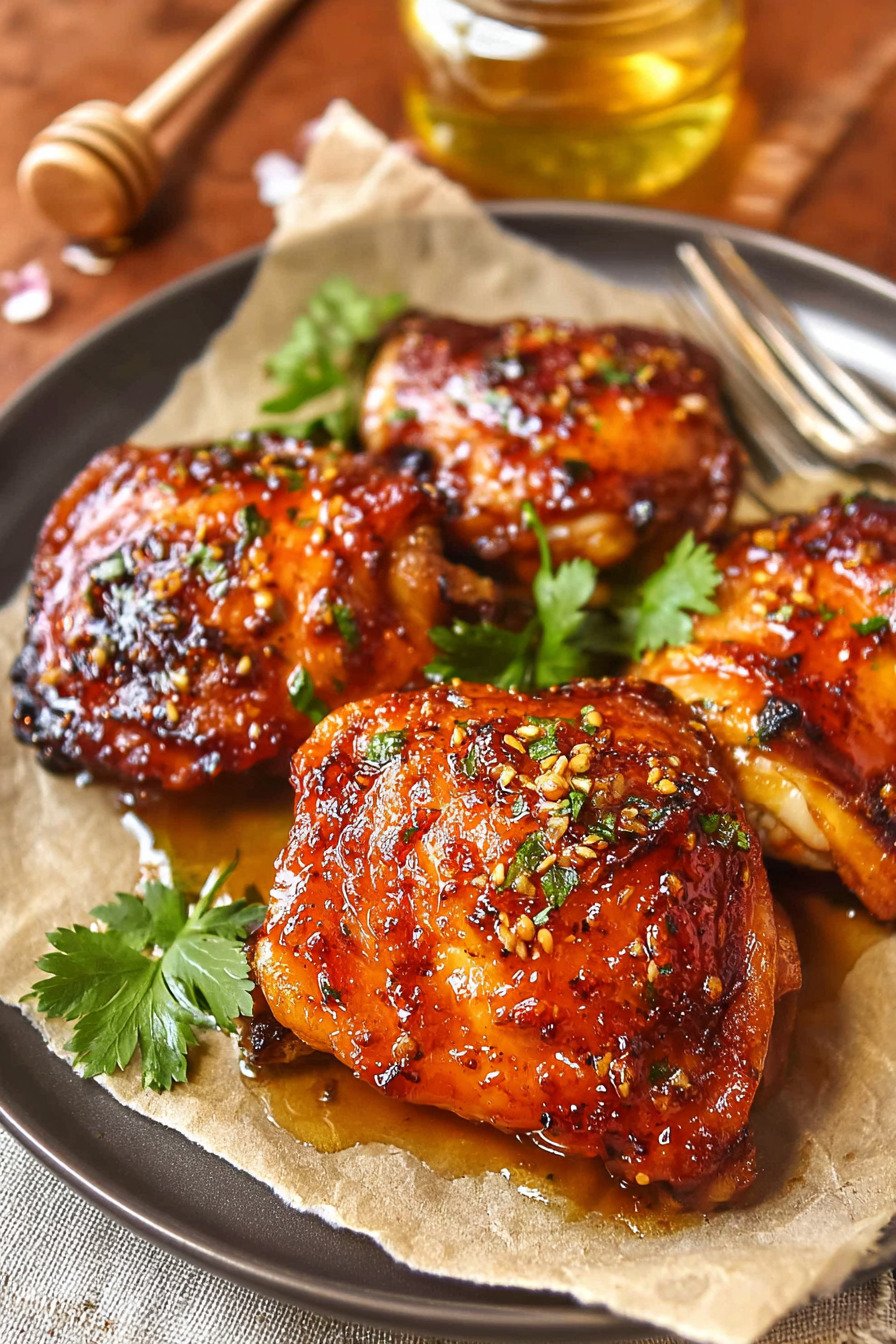
Hot honey chicken thighs are done when the thickest part of the meat reaches 165°F and the juices run clear. The skin should look browned before the glaze is added, then sticky and lacquered after the broiler finish. The sauce should cling to the chicken in a shiny layer instead of sliding off like water.
The texture should be juicy at the center with crisp edges on the skin. When you cut near the bone, the meat should be opaque and tender, not pink or rubbery. The aroma should be buttery, garlicky, and lightly spicy, with a sweet caramel note from the honey. If the smell turns bitter or smoky, the glaze may have broiled too long.
Failure signs are easy to spot: pale skin means the sear was too short, blackened sauce means the honey overheated, and dry meat means the chicken cooked past its ideal point. A good batch lands between those extremes: browned skin, bubbling sauce, tender meat, and balanced sweet heat.
11) Professional Secrets Behind Better Hot Honey Chicken Thighs
Restaurant-style chicken thighs usually get their appeal from layered heat, not complicated ingredients. First, the pan creates browned flavor through direct contact. Then the oven finishes the interior without requiring constant flipping. Finally, the broiler gives the glaze a high-impact finish in a short amount of time.
Another professional habit is separating dry seasoning from wet glaze. The spice rub seasons the meat and supports browning. The glaze adds shine and sweet heat later. When everything is mixed together from the beginning, you lose control over browning and increase the chance of burnt sugars.
Basting near the end also matters. Spooning the skillet sauce over the chicken in the final minutes helps the glaze build in thin layers. Thin layers caramelize better than one heavy pour. That is how hot honey chicken thighs baked in the oven can still taste skillet-seared and deeply flavored.
12) Best Dishes or Pairings to Serve With Hot Honey Chicken Thighs
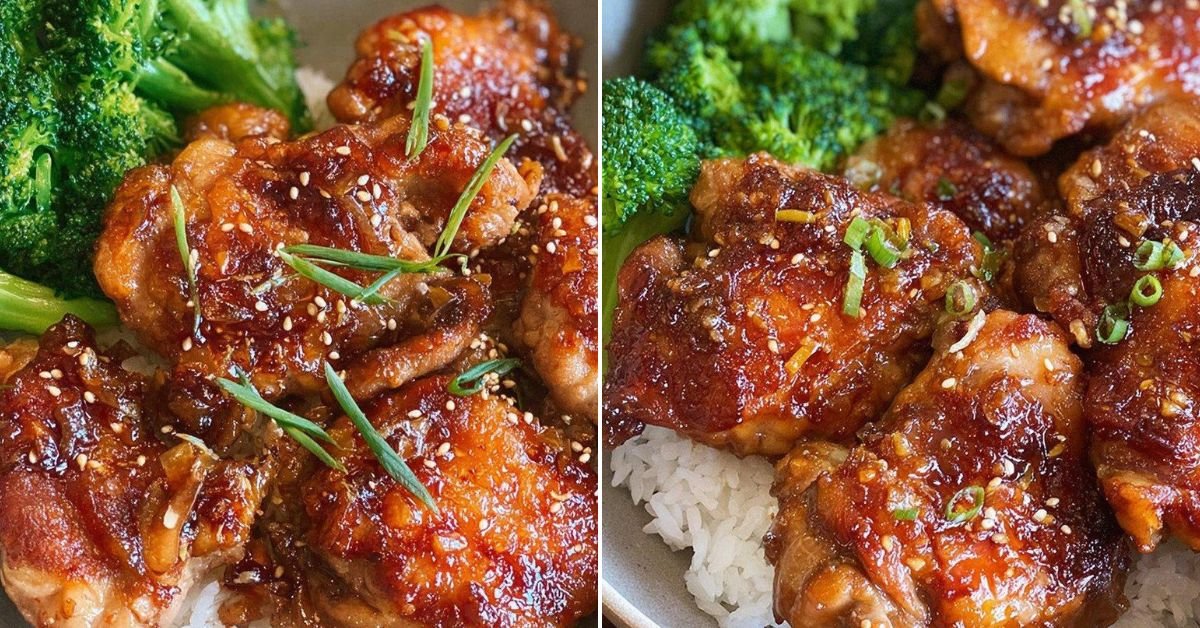
Hot honey chicken thighs have sweetness, heat, butter, and garlic, so the best sides either absorb the sauce or bring freshness. Steamed rice, coconut rice, buttered noodles, or creamy mashed potatoes catch the glaze well. Roasted sweet potatoes also work because their earthy sweetness can handle the sriracha and red pepper flakes.
For something fresher, serve the chicken with cabbage slaw, cucumber salad, roasted broccoli, green beans, or a crisp romaine salad. The crunch and acidity help balance the richness of the butter sauce. Cornbread, biscuits, or warm dinner rolls are useful when you want a comfort-food plate with sauce to swipe from the skillet.
If you are serving these for a casual dinner, add pickles or a tangy yogurt-style sauce on the side. A little acidity makes the sweet-spicy glaze feel brighter and keeps the meal from becoming too heavy.
13) Making Hot Honey Chicken Thighs Ahead of Time
You can season the chicken several hours ahead and keep it covered in the refrigerator. This gives the salt and spices time to settle into the surface, which helps the finished chicken taste more seasoned. For the best skin, leave the chicken uncovered in the refrigerator for part of that time if your storage setup allows it; a drier surface browns better.
The hot honey butter can also be made ahead and refrigerated. Rewarm it gently before using so the butter melts back into the honey and sriracha. Do not pour cold sauce over the seared chicken, because it can cool the skillet and slow the oven finish.
For a hot honey chicken marinade-style prep, keep the dry seasoning on the chicken ahead of time and save the honey butter for cooking. This protects the glaze from burning during the sear while still giving you deeper seasoning.
14) Storing Leftover Hot Honey Chicken Thighs
Store leftover hot honey chicken thighs in an airtight container in the refrigerator for up to 3 days. Spoon some of the extra skillet sauce into the container with the chicken so the meat has moisture when reheated. The skin will soften in the refrigerator, but the flavor will stay rich and spicy.
To reheat, use a covered skillet over low heat or a low oven until warmed through. If the sauce is too thick, add a small splash of water to loosen it. For better skin texture, uncover the chicken for the last few minutes of reheating. Avoid overheating in the microwave if possible, because it can make the meat tougher and the skin rubbery.
Leftover meat can be pulled from the bone and used in rice bowls, wraps, sandwiches, chopped salads, or quick tacos. Add a little extra sauce after reheating so the sweet-spicy flavor stays lively.
15) FAQ (Real Cooking Questions)
Can I make these with boneless chicken thighs? Yes, spicy boneless chicken thighs can work with this flavor profile, but they cook faster than bone-in thighs. Start checking earlier and rely on internal temperature rather than the full timing for bone-in pieces.
Can I make hot honey chicken thighs baked without searing first? You can bake them, but you will lose some skin crispness and browned flavor. Searing first gives the glaze a better base and keeps the finished chicken from tasting one-note.
How spicy are these chicken thighs? They have noticeable heat from sriracha and red pepper flakes, but the honey and butter soften the sharpness. For less heat, reduce the red pepper flakes. For more heat, add a little extra sriracha to the sauce.
Why did my honey sauce burn? The sauce likely cooked too long over high heat or stayed under the broiler too long. Honey caramelizes quickly, so add it after searing and watch carefully during the final broil.
Can I use this as a hot honey chicken marinade? For best results, use the dry seasoning as the make-ahead seasoning and keep the honey butter for the cooking stage. A honey-heavy marinade can burn in the skillet before the chicken is cooked through.
16) Save This Hot Honey Chicken Thighs Recipe
If this hot honey chicken thighs recipe helped you solve the problem of burnt glaze and dry chicken, save it for your next skillet dinner. The key reminder is: crisp the skin first, add the hot honey butter later, and broil only long enough to make the sauce sticky and caramelized.
17) Conclusion
Hot honey chicken thighs become much easier once you understand the timing. The chicken needs its own seasoning. The skin needs a dry surface and a hot skillet. The sauce needs to arrive after browning, not before. The broiler needs your attention, not your trust from across the kitchen.
That is the shift from a frustrating chicken dinner to one that feels controlled. You are not guessing whether the glaze will burn or whether the chicken is cooked through. You are watching for clear signs: crisp skin, glossy sauce, juicy meat, and a sweet-spicy aroma that smells rich instead of scorched.
Once you learn that rhythm, this recipe becomes a reliable way to turn a few simple ingredients into a bold dinner with texture, heat, and real skillet flavor.
18) Nutrition
Serving Size 1 portion Calories 520 Sugar 18 g Sodium 690 mg Fat 36 g Saturated Fat 13 g Carbohydrates 20 g Fiber 1 g Protein 31 g Cholesterol 165 mg


Leave a Comment